Matching LED Lights to Daylight
Author: Fiat Lux Guides Editorial Team Reviewer: Fiat Lux Guides Editorial Team Most recently reviewed First published Filed under Color and White Balance
Match an LED light to daylight by setting a bi-color fixture between 5200K and 6500K to align with the window light at that hour, then locking camera white balance to the combined scene. Because outdoor daylight shifts from direct sun to blue shade, checking the window's actual color temperature prevents warm-versus-cool skin casts.
Belongs to the guide: Color Temperature and White Balance Explained
Balancing artificial fixtures with natural window light is one of the fastest ways to make indoor photos and videos look clean and natural. As covered in our pillar guide to color and white-balance basics, matching two light sources keeps one side of a face from turning orange while the other turns blue.
Why “daylight” is a range, not one Kelvin number
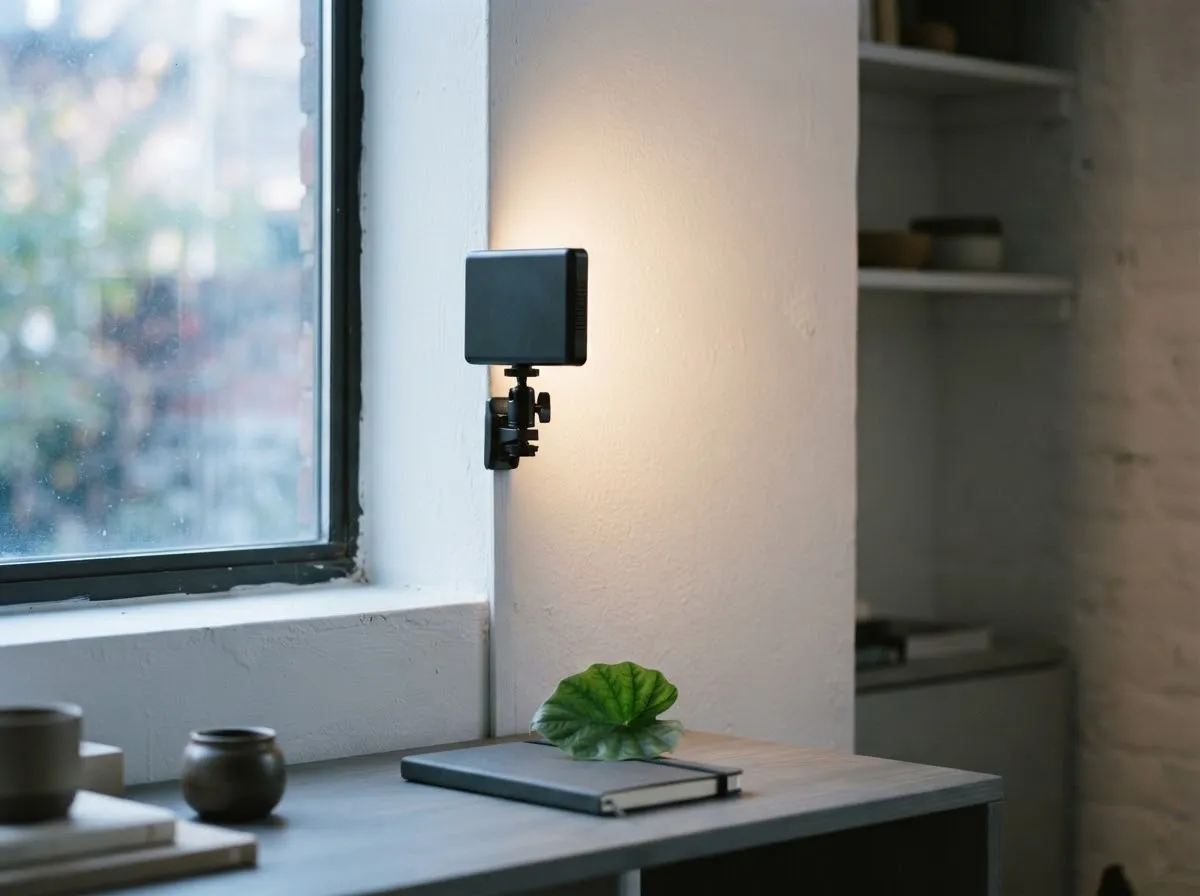
Daylight is not a single fixed color temperature; it shifts continuously with sun angle, cloud cover, and whether a window sees direct sun or open blue sky.
Standards bodies and camera manufacturers reflect this range in their reference figures:
| Light condition | Reference value | Source basis |
|---|---|---|
| Direct sunlight / camera Daylight preset | ~5200K | Canon EOS R6 & Nikon Z7/Z6 manuals |
| Standard photographic daylight LED | 5600K | Nominal studio daylight benchmark |
| Overcast sky / Cloudy preset | ~6000K | Canon EOS R6 & Nikon Z7/Z6 manuals |
| CIE Standard Illuminant D65 | ~6500K | CIE Colorimetry Part 2 |
| Open shade | 7000K–8000K | Canon (7000K) & Nikon (8000K) presets |
Because a north-facing window on a cloudy day is much cooler than direct afternoon sun, setting every LED to 5600K without checking the window will often leave a slight mismatch. Use our Kelvin color temperature chart and light matcher to compare reference values before dialing in your fixture.
Step-by-step: how to match an LED light to window light
- Turn off room ceiling lamps first. Household lamps are often much warmer (2700K–3000K) or have uneven spectra that create mixed lighting color casts. Isolate the window as your only natural source.
- Set your camera to a fixed white balance. Switch off Auto White Balance and choose Daylight (around 5200K) or manual Kelvin (5500K–5600K) so the camera stops shifting colors while you adjust the light.
- Turn on your LED at your working brightness. If you have a bi-color LED, start at 5600K. Place the LED at the angle and distance you plan to shoot.
- Compare the LED side against the window side. Take a test frame or check your live monitor. If the LED side looks warmer (more yellow/orange) than the window, raise the LED’s Kelvin toward 6000K–6500K. If the LED side looks cooler (bluer) than the window, lower the LED’s Kelvin toward 4800K–5200K.
- Lock a custom white balance for the combined scene. Once the two sides match, take a custom white balance reading with a gray card or fine-tune manual Kelvin so neutral whites look neutral.
Matching a fixed 5600K LED using CTO or CTB gels
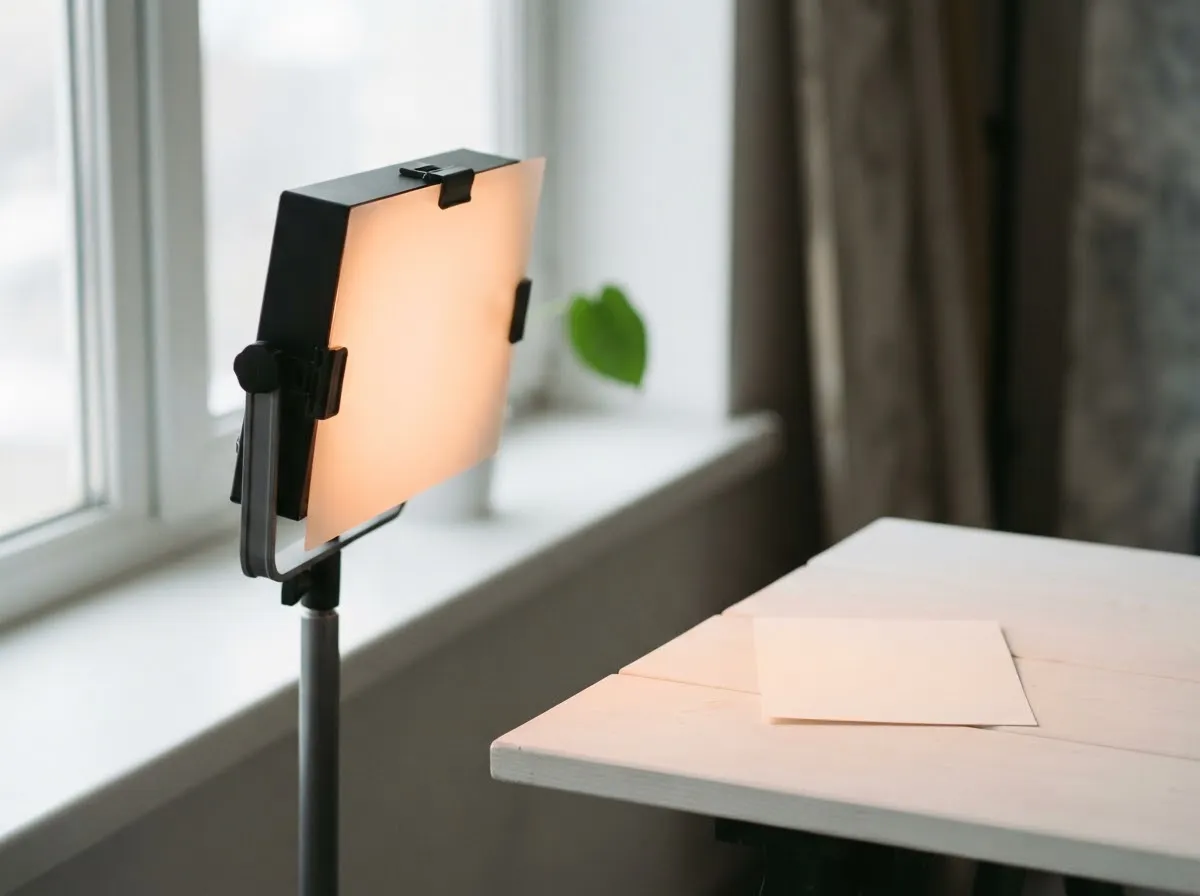
If your LED is daylight-balanced only (fixed at 5600K) and cannot dial warmer or cooler, use lighting gels to shift its output in mireds (1,000,000 / Kelvin).
- When the window is warmer than the LED (golden hour or direct low sun): Add a 1/4 CTO or 1/2 CTO (Color Temperature Orange) gel in front of the LED to warm the beam down toward 4500K–3800K.
- When the window is cooler than the LED (overcast sky or deep shade): Add a 1/4 CTB (Color Temperature Blue) gel to cool the 5600K beam closer to 6500K–7000K.
Check our lighting gels guide for CTO and CTB for exact mired shift tables. Always follow the fixture manufacturer’s manual for heat clearance—never tape a gel directly over cooling vents or flush against a hot COB lens.
Fixing green or magenta differences (Kelvin vs. tint)
Even when a bi-color LED and window light share the same Kelvin number, one can still look slightly greener or more magenta than the other. Correlated color temperature (CCT) only describes position along the blue-to-amber axis; it does not measure green-to-magenta deviation (Duv).
As explained in Kelvin vs. tint: fixing green and magenta color casts, you can reduce this mismatch by:
- Choosing fixtures with high CRI and TLCI ratings (EBU Tech 3355 defines TLCI specifically around how camera sensors interpret light).
- Letting the window dominate as your key light and using the LED at lower output as a subtle fill, or vice versa, so one spectrum sets the primary skin tone.
- Using your camera’s white balance shift grid (G/M axis) or a subtle minus-green/plus-green gel if the fixture lacks a tint control.
Checking your setup before you record
Before rolling video or shooting a portrait session, confirm two details:
- Watch for passing clouds. Passing clouds can change both the brightness and the color of window light within seconds. If the sky is partly cloudy, favor the LED as your primary key light and position the subject slightly deeper in the room so outdoor fluctuations have less impact.
- Keep shutters clean of flicker. If you are shooting video with an LED dimmed to low percentages, verify your shutter speed against LED flicker and banding guidelines before finalizing exposure.
Checked by Fiat Lux Guides’ editorial desk against the cited sources. Read our verification process for how we verify specifications.
Common questions
Should I set my LED light to 5600K or 6500K to match window light?
Start around 5200K to 5600K when direct sun or bright midday sky illuminates the room, and move toward 6000K to 6500K under overcast skies or open shade. Because Canon and Nikon camera manuals list Daylight presets near 5200K and Cloudy or Shade between 6000K and 8000K, matching the actual sky condition beats a single fixed number.
Why does my 5600K LED still look slightly green or magenta next to a window?
Kelvin only measures the warm-to-cool axis along the blackbody curve and ignores the green-magenta tint axis (Duv). Even if two sources share the same correlated color temperature, an LED's spectral spikes can differ from natural daylight. Setting a custom white balance on the camera or adding a minus-green gel corrects the residual tint.
Can I match a fixed 5600K daylight LED to warm late-afternoon sun?
Yes, by placing a warming Color Temperature Orange (CTO) gel over the LED fixture. A 1/4 or 1/2 CTO gel shifts a 5600K beam warmer so it blends with late-day sunlight instead of looking stark blue. Always follow the fixture manual's clearance rules so gels never touch hot surfaces or block cooling vents.
Should I use Auto White Balance when mixing LEDs and daylight?
No. Auto White Balance recalculates whenever you move in the frame or a cloud passes outside, causing color shifts between cuts or frames. Once your LED matches the window light, lock the camera to a manual Kelvin value or a Custom White Balance reading taken from a gray card in the lit scene.
Does matching an LED to daylight require a high CRI or TLCI rating?
A higher CRI or TLCI rating helps ensure skin tones and fabrics render accurately under the combined light. The European Broadcasting Union's TLCI standard (Tech 3355) evaluates how a camera sensor interprets a light source rather than the human eye alone, making it especially useful when blending LEDs with natural daylight on video.
What we checked
- Canon EOS R6 Product Manual — White Balance (checked 2026-11-14) (cam.start.canon)
- Nikon Z7/Z6 Reference Manual — White Balance (checked 2026-11-14) (onlinemanual.nikonimglib.com)
- CIE Colorimetry — Part 2: CIE Standard Illuminants (checked 2026-11-14) (cie.co.at)
- EBU Tech 3355 — Method for the Assessment of the Colorimetric Properties of Luminaires in Television (checked 2026-11-14) (tech.ebu.ch)
- Rosco Cinegel Filter Facts — color correction gels and mired shift values (checked 2026-11-14) (emea.rosco.com)
You might also like
- Color Temperature and White Balance Explained
Learn Kelvin color temperature, camera white balance presets, green/magenta tint, CRI vs TLCI, and how to prevent mixed-lighting color casts.
- CRI and TLCI Explained: Color Accuracy of Lights
Understand what CRI and TLCI measure, why CRI can miss red skin tones on LEDs, and what TLCI scores mean for photo and video.
- Custom White Balance with a Gray Card
How to set custom white balance in-camera with a gray or white card for accurate skin tones under LEDs, window light, and mixed lighting.
- Kelvin vs Tint: Fixing Green and Magenta Color Casts
Learn the difference between Kelvin color temperature and green-magenta tint (Duv), why LEDs shift green, and how to fix color casts.
- Lighting Gels: CTO and CTB for Color Matching
Match tungsten, daylight, and LED sources using CTO and CTB lighting gels, mired shift math, and light transmission loss.
- Mixed Lighting and Color Casts: Why Skin Looks Orange or Blue
Fix orange and blue color casts caused by mixing window light, household lamps, and LEDs. Learn how to match light color temperatures on set.