Portrait Lighting Patterns: Loop, Rembrandt, Butterfly
Author: Fiat Lux Guides Editorial Team Reviewer: Fiat Lux Guides Editorial Team Most recently reviewed First published Filed under Setups and Exposure
Portrait lighting patterns are defined by where the nose, cheek, and chin shadows fall on a subject's face as you move the main light. Butterfly places the light centered and above for a symmetrical shadow under the nose, loop shifts it to the side for a small nose shadow, Rembrandt joins the nose and cheek shadows to leave a lit triangle under one eye, and split lights one half of the face.
Belongs to the guide: Three-Point Lighting Explained for Beginners
Portrait lighting patterns are named for the exact shadow shapes a single key light draws across the nose, cheeks, and eyes. Within the broader framework of the classic three-light arrangement, the key light establishes the pattern before you ever add a fill card or hair light. Because the pattern depends on geometry—the horizontal and vertical angle between the light, the subject’s nose, and the lens—you can produce all four classic patterns with one softbox, one speedlight, or a bright window.
How light angle creates each portrait pattern
Every classic portrait pattern sits on a continuous arc around the subject’s face. As you move the key light from directly in front of the nose toward the side of the head—or keep the light fixed and ask the subject to turn their head—the nose shadow swings across the opposite cheek and changes shape.
Raising the light above eye level pushes shadows downward, which defines the brow, cheekbones, and jawline. Keeping the light too low flattens those contours; raising it too high hides the catchlights in the eyes and drops the nose shadow onto the upper lip, as noted in Profoto’s butterfly lighting guide.
To preview how your modifier size and distance will affect the edge of those shadows—whether crisp or gradual—check our softbox softness calculator and our guide to hard versus soft light.
Butterfly lighting (Paramount lighting)
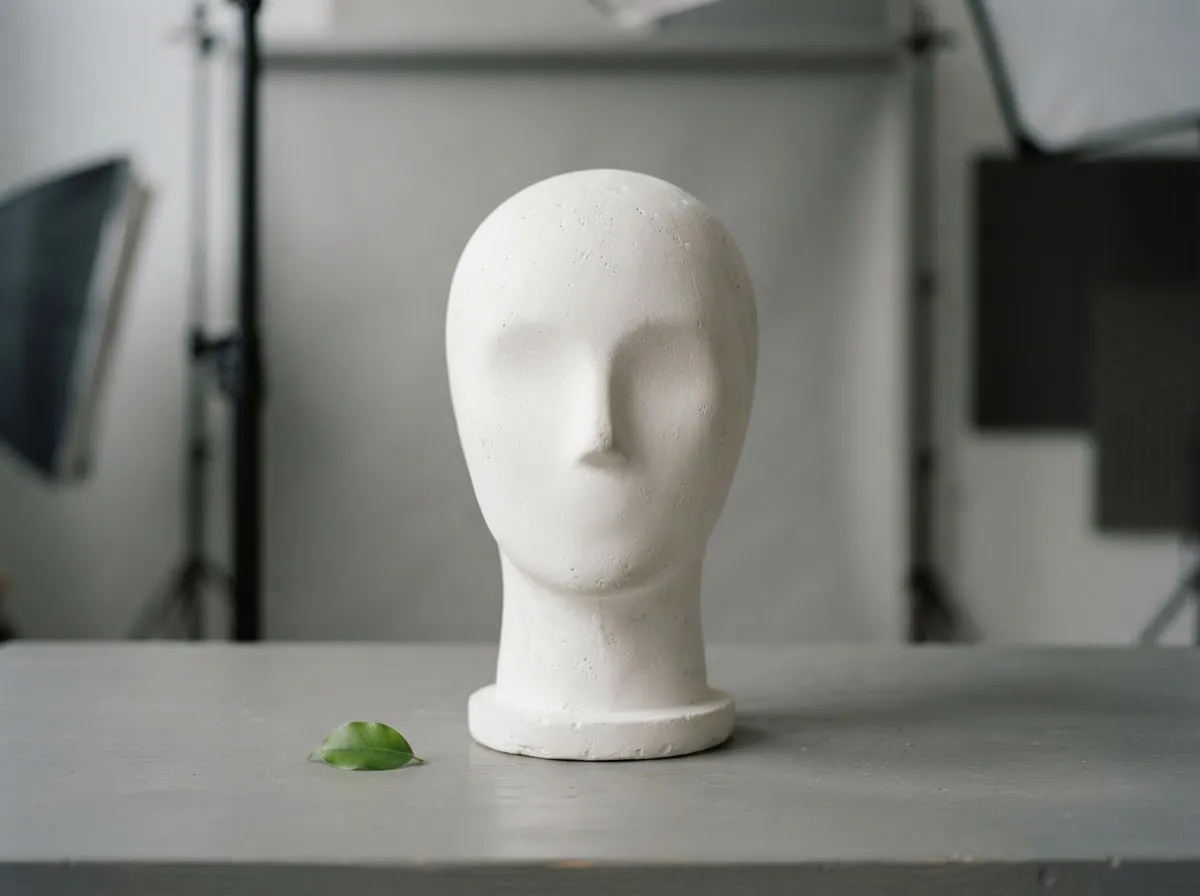
Butterfly lighting places the key light centered in front of the subject and raised above the camera axis. It gets its name from the small, symmetrical shadow cast directly under the nose, roughly halfway between the tip of the nose and the upper lip.
How to set it up:
- Position your subject facing the camera, and place the key light directly in front of them along the camera-to-subject line.
- Raise the light above the subject’s eye line until a compact, symmetrical shadow appears under the nose and subtle shadows form beneath the cheekbones and chin.
- Check the eyes for a clear catchlight; if the catchlight disappears or the nose shadow touches the upper lip, lower the light slightly.
- Optionally place a white reflector or bounce card below the chest, angled upward, to soften the shadow under the chin without erasing the cheek sculpting.
Butterfly lighting works best when you want even illumination on both sides of the face and clean symmetry, making it a staple for headshot lighting at home.
Loop lighting
Loop lighting shifts the elevated key light to one side—typically around a 45-degree angle from the camera axis, as outlined in the Summit High Digital Photography portrait patterns guide—until a small, rounded shadow loops downward beside one side of the nose.
The defining rule of loop lighting is separation: the nose shadow must stay detached from the shadow on the far cheek. If the two shadows merge, you have crossed into Rembrandt lighting.
How to set it up:
- Start from the butterfly position (centered and above eye level).
- Walk the light stand toward one side while keeping the modifier aimed at the subject’s face, watching the shadow under the nose shift diagonally onto the opposite side of the nose.
- Stop as soon as a small loop shadow forms beside the nostril without reaching the cheek shadow.
- Adjust height if needed so both eyes retain catchlights.
Loop lighting is forgiving on a wide range of face shapes because it adds directional depth without plunging half the face into deep shadow.
Rembrandt lighting
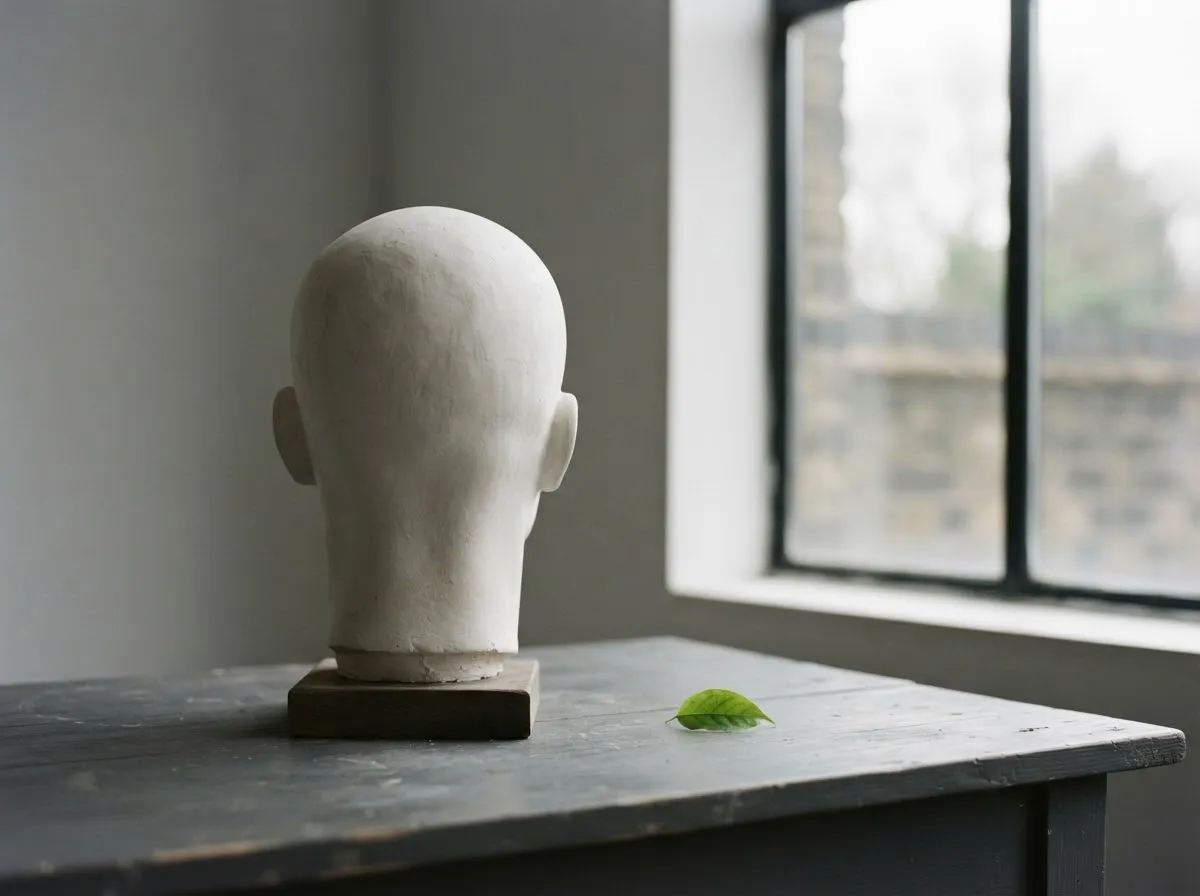
Rembrandt lighting moves the elevated key light further to the side—or turns the subject’s head slightly away from the light—until the nose shadow connects with the cheek shadow, trapping a small triangle of light beneath the eye on the shadow side of the face.
In Profoto’s Rembrandt lighting guide, the setup follows four steps: mount a softbox, raise the light to push shadows downward, and move the light around to the side until the nose shadow meets the cheek shadow to form the triangle. Profoto also advises using a black flag so no light bounces back from white studio walls, which would fill the shadow side.
How to set it up:
- Begin in loop lighting and continue moving the light further to the side (or ask the subject to turn their chin slightly away from the light).
- Watch the gap between the nose shadow and the cheek shadow close until a distinct triangle of light remains under the shadow-side eye.
- Keep the triangle small, and verify that a catchlight is still visible in the shadow-side eye.
- Control shadow depth with a fill card on the shadow side for softer contrast, or a black flag to deepen the shadow side.
Split lighting
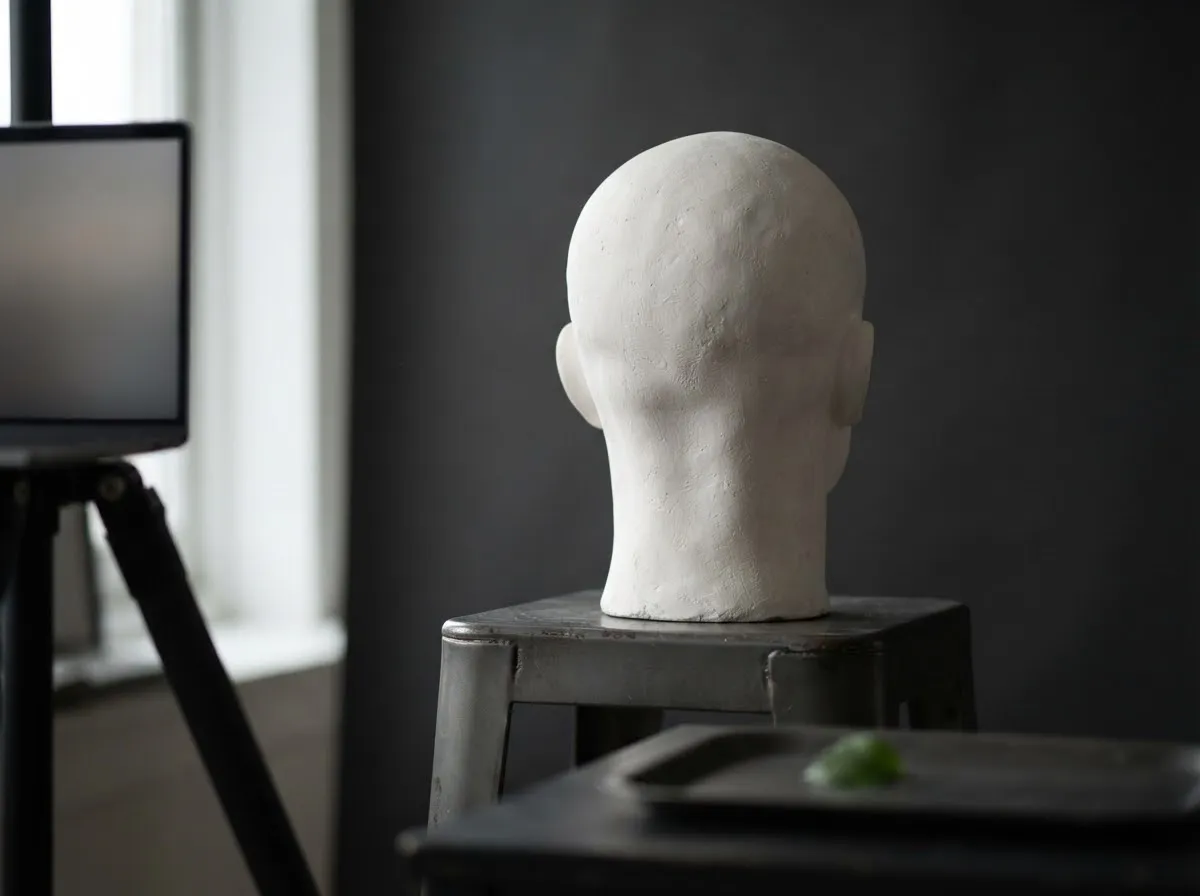
Split lighting places the key light at about 90 degrees to the side of the subject, near eye level or slightly above, so that one half of the face is fully lit and the other half falls into shadow along the bridge of the nose.
Because the light skims across the face from the side, it leaves half the face in shadow and gives the highest contrast of the four patterns. You can soften the transition by using a larger softbox placed close to the subject or by adding a fill card on the shadow side, as covered in our key-to-fill ratio guide.
Broad vs. short lighting: how head turn changes the pattern
Once you understand the four nose-shadow patterns, you can pair any of them (except centered butterfly) with broad or short lighting:
- Broad lighting is a setup where the side of the face turned toward the camera receives the main light, so the lit area looks wider.
- Short lighting is a setup where the side of the face turned away from the camera receives the main light, leaving the camera-facing cheek in shadow.
Notice that you do not have to move the light stand to switch between broad and short lighting: simply ask the subject to turn their head away from the light for broad lighting (the lit side then faces the camera more fully), or back toward the light for short lighting.
Controlling shadow softness and falloff
The pattern tells you where the shadows fall; modifier size and distance tell you how sharp those shadow edges look and how quickly the light drops off across the face and background.
- Closer, larger modifiers wrap light more gently around the nose and cheeks, softening the edge of the Rembrandt triangle or loop shadow.
- Smaller, more distant modifiers produce crisper shadow boundaries that make the pattern shape unmistakable.
- Subject-to-background distance and light-to-subject distance govern how bright the background stays relative to the face, which you can calculate with the inverse square law.
For full transparency on how Fiat Lux Guides verifies lighting geometry and manufacturer claims, see our review standards.
| Pattern | Key-light position | Defining shadow | Typical contrast feel |
|---|---|---|---|
| Butterfly (Paramount) | Centered in front of the subject, raised above eye level | Symmetrical shadow under the nose, above the upper lip | Low-to-moderate shadow across cheeks; emphasizes cheekbones |
| Loop | Elevated above eye level and shifted ~45 degrees to one side | Small downward loop shadow beside the nose that does not touch the cheek shadow | Balanced modeling with both eyes and cheeks mostly lit |
| Rembrandt | Elevated and moved further to the side than loop | Nose shadow connects with cheek shadow, leaving a lit triangle under the shadow-side eye | High drama with one cheek largely in shadow |
| Split | Roughly 90 degrees to the side at or near eye level | Vertical shadow line down the nose dividing the face in half | Strongest side-to-side contrast |
Common questions
What is the difference between loop lighting and Rembrandt lighting?
The difference is whether the nose shadow touches the cheek shadow. In loop lighting, the key light sits to one side at roughly 45 degrees and casts a small, separate shadow beside the nose. In Rembrandt lighting, the light moves further to the side or the subject turns away until the nose shadow connects with the cheek shadow, trapping a small triangle of light under the shadow-side eye.
Why is butterfly lighting also called Paramount lighting?
Butterfly lighting is named for the symmetrical, butterfly-shaped shadow it creates directly under the nose when the key light is centered above the camera axis. It is also called Paramount lighting in photography teaching materials, and Profoto calls it the popular Hollywood lighting. Keeping the light centered means the shadows fall straight down, so the face is lit symmetrically with no shadow cast across one side.
What is the difference between broad lighting and short lighting?
Broad and short describe which side of a turned face receives the key light, rather than a specific nose-shadow shape. In broad lighting, the side of the face turned toward the camera is lit; in short lighting, the side turned away from the camera is lit while the camera-facing cheek stays in shadow. Either can be combined with loop, Rembrandt, or split patterns.
Can you create portrait lighting patterns with a single window?
Yes. Because portrait lighting patterns depend on the angle between the light source, the subject's nose, and the camera, a single window works just like a softbox. You can move the subject closer to or further from the window and rotate their chin relative to the glass to shift smoothly from butterfly to loop, Rembrandt, and split.
How high should the key light be for butterfly or Rembrandt lighting?
Raise the key light above the subject's eye line until the nose shadow drops downward, but stop before the eye sockets go dark. Profoto's portrait guides note that raising the light too high loses the catchlight in the eyes and pushes the nose shadow onto the upper lip in butterfly setups.
What we checked
- How to create Rembrandt lighting — Profoto Tips & Tricks, checked 2026-11-14 (profoto.com)
- How to create butterfly lighting — Profoto Tips & Tricks, checked 2026-11-14 (profoto.com)
- 5 portrait lighting setups with one Profoto B10 light — Profoto Tips & Tricks, checked 2026-11-14 (profoto.com)
- Lesson 1: Portrait Photography, Meriden Public Schools course page (instruction.meridenk12.org)
- Portrait Light Patterns w/ Studio Lights — Summit High Digital Photography, checked 2026-11-14 (floresphotoclass.edublogs.org)
You might also like
- Three-Point Lighting Explained for Beginners
Learn three-point lighting—key light, fill light, and backlight—plus how source size controls shadow softness and how distance and stops control exposure.
- Common Lighting Mistakes in Photo and Video
Spot and fix the most common photo and video lighting mistakes: mixed color casts, flat on-axis light, harsh overhead shadows, and distance falloff.
- Exposure Basics for Lighting: Stops, ISO, Aperture, Power
Understand how stops of light connect aperture, shutter speed, ISO, and flash or LED power so you can adjust lighting exposure accurately.
- Hard Light vs Soft Light: What Changes the Shadows
Compare hard light vs soft light in photography and video: how source size, distance, and penumbra geometry control shadow edge softness.
- Headshot Lighting at Home
Set up clean headshot lighting at home with a window or a single LED or strobe, covering light angle, background separation, and shadow fill.
- The Inverse Square Law of Light for Photographers
Learn how the inverse square law controls light falloff, exposure stops, and background separation in photography and video.