Reflectors and Diffusers for Natural Light
Author: Fiat Lux Guides Editorial Team Reviewer: Fiat Lux Guides Editorial Team Most recently reviewed First published Filed under Natural Light
Reflectors and diffusers shape natural light without adding powered gear: reflectors bounce existing sun or window light back into shadows, while diffusers sit between the light and your subject to scatter harsh beams into softer, wider illumination. Choosing the right surface and distance controls both shadow softness and color warmth.
Belongs to the guide: Natural Light Photography: A Beginner Guide
When natural light is too contrasty or comes from only one direction, reflectors and diffusers let you reshape it without batteries or stands full of strobes. As part of our available-daylight techniques guides, this article explains the optics behind bouncing and diffusing light, how each 5-in-1 surface behaves, and where to place them.
What is the difference between a reflector and a diffuser?
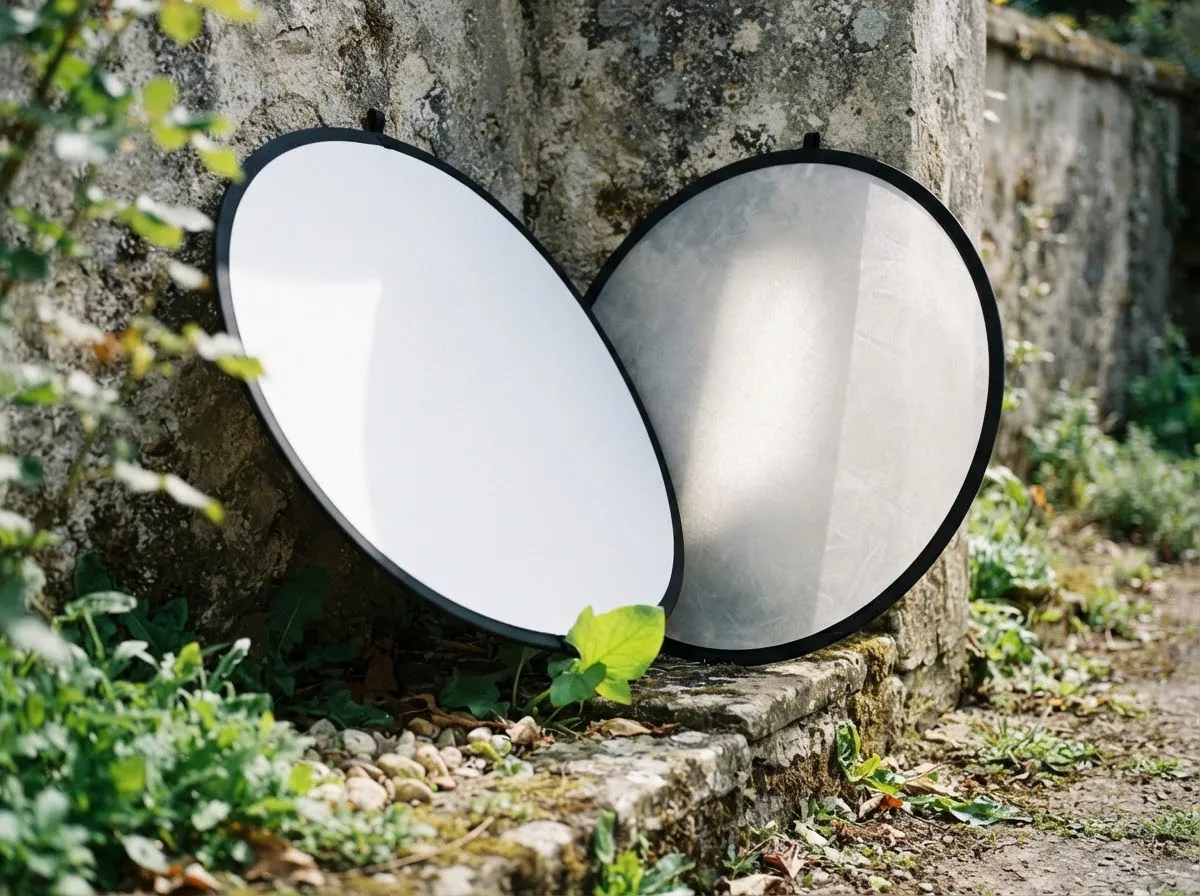
A reflector bounces existing light back onto the shadow side of a subject, while a diffuser sits between the light source and the subject to scatter direct beams into softer light. Both tools redistribute the light already in your scene rather than generating new output.
- Reflector: Placed opposite the sun or window, facing back toward the subject to lift shadows.
- Diffuser: Held between the sun or window and the subject so light passes through translucent fabric before reaching the subject.
Many portable kits combine both in a single collapsible 5-in-1 reflector (a common kit format; check each product’s listing for its exact surfaces): a translucent inner disc acts as the diffuser, and a zippered reversible sleeve provides white, silver, gold, and black surfaces.
How do reflector surfaces change light quality and color?
Under the law of reflection (OpenStax College Physics 2e), smooth surfaces produce specular reflection—where light bounces at the same angle it arrives—while rough, matte surfaces produce diffuse reflection that scatters light in many directions. That physical difference explains how each reflector side behaves:
| Surface | Reflection type | Effect on shadows | Effect on color |
|---|---|---|---|
| White | Diffuse | Soft, gradual fill | Neutral; matches incoming light |
| Silver | Semi-specular | Stronger, crisper fill; reaches farther | Typically neutral to slightly cool |
| Gold | Semi-specular | Strong fill with higher contrast | Adds warm amber tint |
| Black (flag) | Absorptive | Blocks ambient bounce to deepen shadows | None |
- White is the most forgiving choice for window-lit indoor photography and close-up portraits because it scatters light gently without creating harsh hotspots.
- Silver reflects more directional energy toward the subject, making it useful outdoors when you must hold the reflector farther away or bounce weak shade light.
- Gold warms skin tones, though using it under already-warm golden hour photography sun can push skin overly orange.
- Black (sometimes called negative fill) absorbs light instead of bouncing it, deepening shadows on one side of a face in bright rooms with white walls.
How does a diffuser soften harsh sunlight or window light?
When light passes through a translucent material, some of the light is transmitted, some is reflected, and some is absorbed. A translucent diffuser breaks up parallel rays from a small, harsh source—like direct midday sun—and scatters them across the full width of the fabric panel.
From your subject’s perspective, the glowing fabric becomes the new light source. Because the diffuser panel is physically much wider in angular size than the distant sun, shadow edges become soft and gradual. You can explore how source width and distance govern shadow softness using our softbox softness calculator and our guide on hard and soft light differences.
Keep two practical habits in mind when diffusing natural light:
- Cover the whole subject: Place the diffuser close enough to the subject that its shadow blankets their entire face or product; otherwise, direct sunlight leaks around the edges and creates harsh patches.
- Expect slightly less exposure: Because the fabric reflects and absorbs part of the beam, open your aperture, slow your shutter speed, or raise ISO slightly to compensate.
Where should you position a reflector for natural-looking fill?
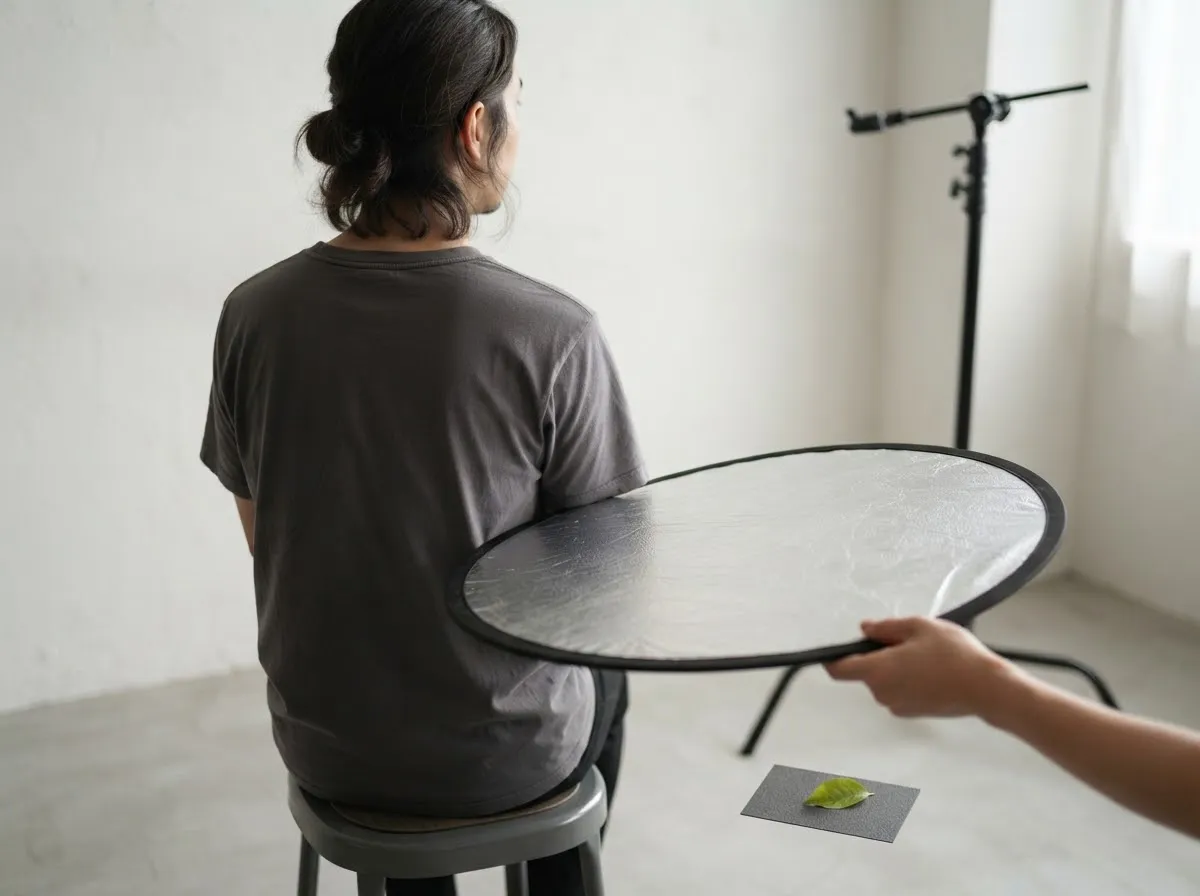
Hold or clamp the reflector so incoming light strikes its face and bounces toward the subject’s shadow side at roughly eye level or slightly higher. Watch the subject’s face as you tilt the reflector—when you see the shadow side brighten smoothly and a catchlight appear in the eyes, lock the angle in place.
Avoid resting a reflector flat on the ground or low in the subject’s lap pointing straight up. Upward bounce reverses the natural direction of sky light, creating unnatural shadows under the nose and brow.
Distance controls fill strength just as it does with powered lights. Under the inverse-square law (HyperPhysics), moving a reflector closer to the subject increases fill brightness rapidly, while pulling it back lets the shadows stay deeper. Test distance adjustments on our light distance exposure calculator, or compare passive modifiers with powered setups in light modifiers explained.
For more on how we source optical and camera-lighting guidance, see our sourcing and review approach.
Common questions
What is the difference between a reflector and a diffuser?
A reflector bounces existing light off an opaque surface to fill shadows from the opposite side of your subject. A diffuser is a translucent panel placed between the light source and your subject to scatter harsh direct sunlight into softer, broader light.
Which 5-in-1 reflector side should I use for natural light portraits?
Use the white side for soft, neutral fill light that blends naturally with window or shade light. Use silver when you need stronger, crisper bounce from a greater distance, gold to add warmth, and black to block stray light and deepen shadows.
Where do you place a diffuser for harsh sunlight or window light?
Place the translucent diffuser between the sun or window and your subject, close enough that its shadow covers the entire area you want softened. Moving the diffuser closer to the subject makes the effective light source larger and softens shadow transitions further.
Can a reflector make natural light look unnatural?
Yes, placing a bright reflector too low beneath a subject's chin creates upward shadows that look unfamiliar, sometimes called 'monster lighting.' Keep the reflector slightly above or level with the subject's face and pull it back if the fill overpowers the main light.
Does a diffuser reduce the brightness of sunlight?
Yes, translucent diffusion fabric transmits only part of the incoming light while reflecting and absorbing the rest. Because less light reaches your subject, you will need to open your lens aperture, slow your shutter speed, or raise ISO slightly compared with shooting in direct, unfiltered sun to keep exposure balanced.
What we checked
- OpenStax College Physics 2e — 25.2 The Law of Reflection (checked 2026-11-14) (openstax.org)
- HyperPhysics — Inverse Square Law for Light (checked 2026-11-14) (hyperphysics.phy-astr.gsu.edu)
You might also like
- Natural Light Photography: A Beginner Guide
Learn natural light photography: how sun angle, window size, open shade, and overcast skies shape shadow softness, color temperature, and exposure.
- Backlight and Rim Light with a Window
How to shoot backlit window portraits and rim light using metering, exposure lock, flare control, and reflector fill without blowing out skin tones.
- Food Photography with Window Light
Use side light, backlight, sheer diffusion, and bounce cards to shape texture and highlights in food photography with window light.
- Golden Hour Photography Explained
Learn what causes golden hour light, when it occurs by solar elevation, how long it lasts, and which white balance and camera settings preserve warm tones.
- Indoor Natural Light Photography Without Flash
How to shoot indoor natural light photography without flash using window placement, camera exposure settings, white balance, and falloff control.
- Natural Light vs Artificial Light: When to Use Each
Natural light vs artificial light compared on cost, color stability, power, and control so you can decide when window light or studio gear fits best.