Video Call Lighting: Look Better on Webcam
Author: Fiat Lux Guides Editorial Team Reviewer: Fiat Lux Guides Editorial Team Most recently reviewed First published Filed under Video Lighting
Good video call lighting puts a soft, front-facing light source behind or slightly to the side of your monitor so your webcam exposes your face cleanly without noisy grain. Avoid bright windows behind you, position the webcam at eye level about arm's length away, and match your desk light to any nearby window.
Belongs to the guide: Video Lighting Setup for Calls and YouTube
Improving video call lighting is the single fastest upgrade for Zoom, Microsoft Teams, and Google Meet—which can make a built-in laptop camera look cleaner in a dim room. As we cover in our basic video light rig guide pillar guide, webcams have tiny sensors that crank up digital gain (noise) whenever your face is underlit. Putting soft, front-facing light on your face lets the camera drop its gain, producing sharper edges and natural skin tones.
Step 1: Fix camera height and background direction first
Before buying any light, fix geometry. According to Logitech’s webcam setup guidelines, two physical rules govern how you look on a call:
- Position the webcam at eye level, about arm’s length away: Looking down into a laptop camera creates unflattering upward angles; raising the laptop on a stand or mounting an external webcam at eye level keeps natural eye contact.
- Keep bright light in front of you, never behind you: Backlighting from a window or bright doorway behind your chair forces the webcam’s auto-exposure to expose for the bright background, turning your face into a dark silhouette.
If your desk currently backs onto a window, rotate your desk so you face the window, or draw blinds/curtains behind you and light your face from the front.
Step 2: Choose a front-facing key light
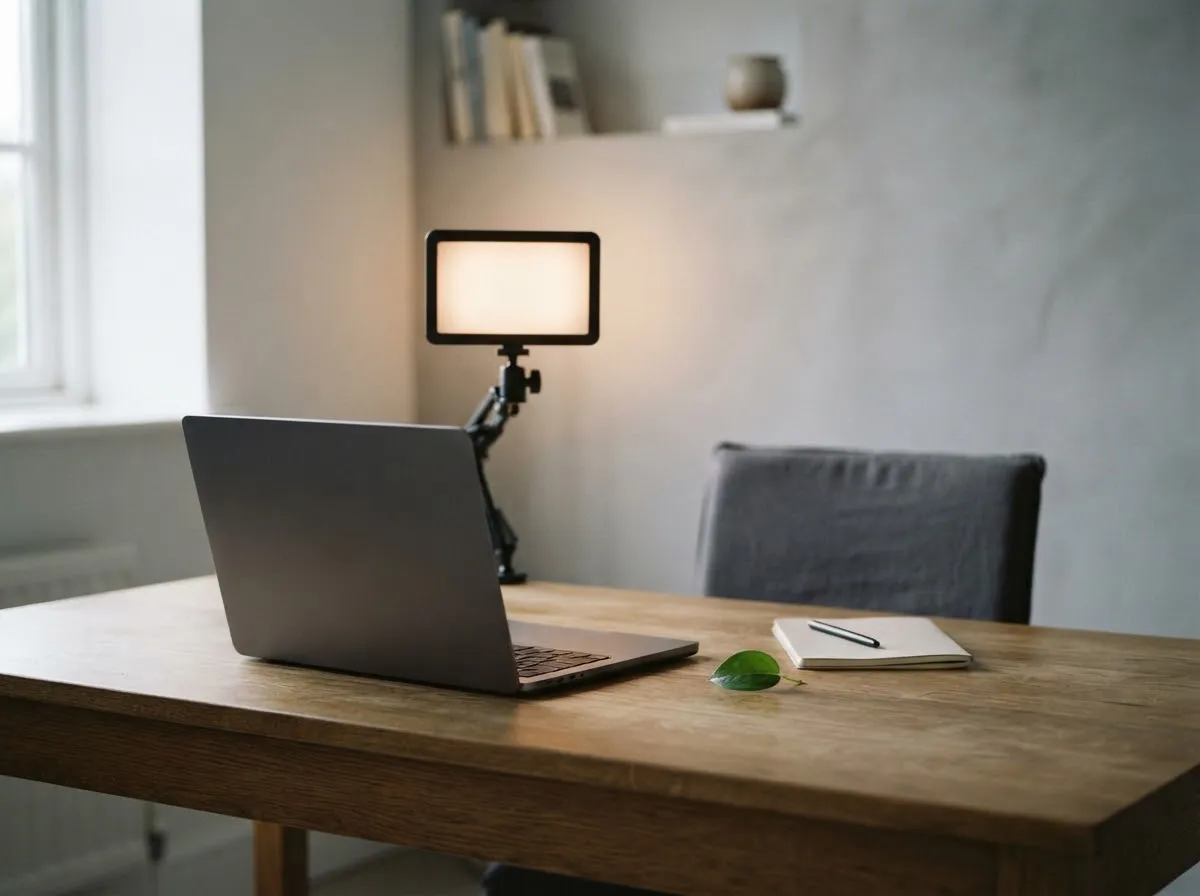
You have three practical ways to light your face at a desk, depending on your room and budget:
- Facing a window: Free, large, and naturally soft as long as direct sun is not hitting your face. Use sheer curtains to soften harsh direct sun. See window light for video and calls for time-of-day tips.
- Monitor-mounted diffused LED: Compact desktop lights with built-in diffusion—like the frameless diffuser and precision optics lens on Logitech’s Litra Glow—sit near your monitor. Because the emitting surface is relatively small, keep it within arm’s length so it stays soft and bright under the HyperPhysics inverse-square law.
- Larger softbox or bounced desk lamp: If you have space behind your monitor, a compact LED panel in a small softbox—or a desk lamp bounced off a white wall in front of you—creates a larger, gentler light source that wraps around facial features.
For full desk and creator options, see our YouTube lighting setup on a budget and budget lighting kit guides.
Step 3: Place the light to flatter your face (and avoid glasses glare)
Where you put the light matters as much as what light you buy:
- Slightly above eye level, angled down: Mimics natural overhead daylight without creating deep under-eye raccoon shadows.
- Offset 30 to 45 degrees to one side (optional): Placing the key light slightly off-center adds gentle dimension across your cheekbones instead of flat passport-photo lighting.
- If you wear glasses: Never aim a bright ring or panel straight at your lenses from eye level. Raise the light higher above the monitor and move it slightly to the left or right so the reflection bounces downward below the webcam’s line of sight.
If your monitor is bright and white-themed (such as a full-screen document), lower your screen brightness slightly so the blue-white screen glow does not overpower your key light or cast an uneven glare on your glasses.
Step 4: Match color temperature and kill mixed casts
Overhead ceiling lights in bedrooms and home offices are often warm (2700 K–3000 K), while windows and computer monitors lean cool (5200 K–6500 K). As Canon’s white balance documentation notes, White Priority auto white balance may not reduce warm casts when multiple light sources are present.
- Daytime calls near a window: Turn off warm overhead room lamps and set your desk LED to ~5200 K–5600 K.
- Night calls in a warm room: Set your desk LED to ~3200 K–4500 K so your face blends naturally with warm background lamps.
Read mixed lighting and color casts and white balance settings if your webcam image still shifts orange or green.
Step 5: Add subtle separation from the background
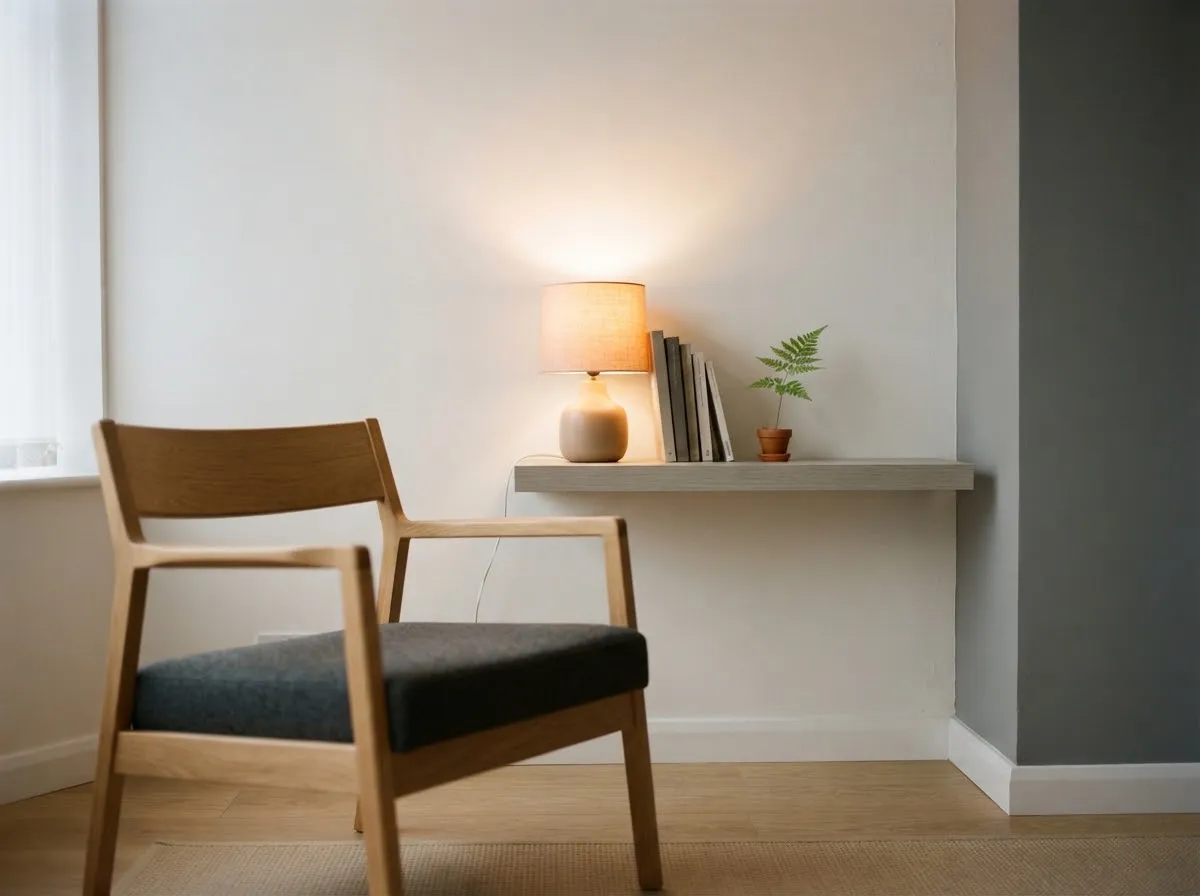
Once your face is cleanly lit, a dim accent lamp behind you—aimed at a bookshelf or wall, not into the camera lens—adds depth so you do not blend into a flat wall. This follows the classic key-plus-background logic of key, fill and back light setup scaled down for a home desk.
Follow the manufacturer’s manual for USB power, AC adapters, and ventilation on any desktop light, and see our sourcing and review approach for how Fiat Lux Guides checks technical specifications.
Common questions
Where should I put my light for a video call?
Place your primary light in front of you—behind your laptop or monitor—either slightly above eye level or offset 30 to 45 degrees to one side. Never put a bright window or lamp directly behind your back, because the webcam will expose for the bright background and turn your face into a dark silhouette.
Why does my webcam look grainy even with room lights on?
Webcams have small sensors that struggle when overhead ceiling lights cast downward shadows into your eye sockets while leaving your face dim. Adding a soft front-facing light aimed toward your face lets the webcam lower its gain (ISO), immediately reducing digital noise and sharpening detail.
Should I face a window for Zoom and Teams calls?
Yes, facing a window with indirect daylight—or diffusing direct sun with a sheer curtain—provides large, flattering soft light at zero cost. Just turn off warm overhead room lamps so you do not mix cool window light with orange indoor bulbs.
How do I stop my glasses from reflecting my monitor or ring light?
Raise your light higher above the monitor and angle it slightly downward, or move a single key light off to one side rather than dead center behind the lens. Raising and offsetting the light directs the specular reflection downward away from the webcam lens.
What color temperature should my video call light be?
If you sit near a daylight window, set your bi-color LED panel or key light around 5200 K to 5600 K so it blends with natural light. If you take calls in a dark room at night with warm practical lamps visible behind you, 3200 K to 4500 K often looks more natural on skin.
What we checked
- Logitech — How to Position Your Webcam and Lighting, checked 2026-11-14 (logitech.com)
- Logitech Litra Glow — Precision Optics & Frameless Diffuser Overview, checked 2026-11-14 (logitech.com)
- HyperPhysics (Georgia State) — Inverse Square Law, checked 2026-11-14 (hyperphysics.gsu.edu)
- Canon EOS-1D X Mark III Manual — White Balance & Multiple Light Sources Caution, checked 2026-11-14 (cam.start.canon)
You might also like
- Video Lighting Setup for Calls and YouTube
Build a clean video lighting setup for calls and YouTube using window light or continuous LEDs, simple angles, distance control, and color matching.
- Green Screen Lighting: Even Backdrop, Clean Key
Light a green screen evenly and separate your subject from the backdrop to eliminate shadows, hotspots, and green spill for clean chroma keying.
- LED Flicker on Camera: Shutter Speed and Banding
Stop LED flicker and rolling-shutter banding in video and stills by matching shutter speed to 50 Hz or 60 Hz mains and using anti-flicker tools.
- Lighting a Small Home Office for Video
How to light a cramped home office or bedroom desk for sharp, flattering video calls and recordings without bulky stands or wall glare.
- Lighting for Online Teaching and Webinars
Set up comfortable, flicker-free, low-glare lighting for multi-hour online teaching, webinars, and livestreams with steady color.
- Lighting for Talking-Head Videos
Light talking-head and interview videos cleanly with one, two, or three lights by controlling key angle, fill ratio, hair separation, and glare.