Three-Point Lighting Explained for Beginners
Author: Fiat Lux Guides Editorial Team Reviewer: Fiat Lux Guides Editorial Team Most recently reviewed First published Filed under Setups and Exposure
Three-point lighting is a foundational setup that shapes a subject using three distinct roles: a bright key light for main illumination and shadows, a softer fill light on the opposite side to control shadow contrast, and a backlight behind the subject for background separation. Understanding those roles lets you light effectively with three fixtures or just one.
Checked by Fiat Lux Guides’ editorial desk against the cited sources.
Three-point lighting is the standard starting layout for portraits, interviews, and video lighting setups. As taught in college video production courses such as BMCC’s Intro to Video Technology curriculum, it is best understood as a positioning guide built around three distinct roles—key light, fill light, and backlight—rather than a rigid formula requiring three expensive fixtures.
Once you understand what each role does, how source size changes shadow edges, and how distance changes exposure, you can build clean, dimensional lighting with three lights, two lights, or even a single window and a white reflector.
The three roles in three-point lighting
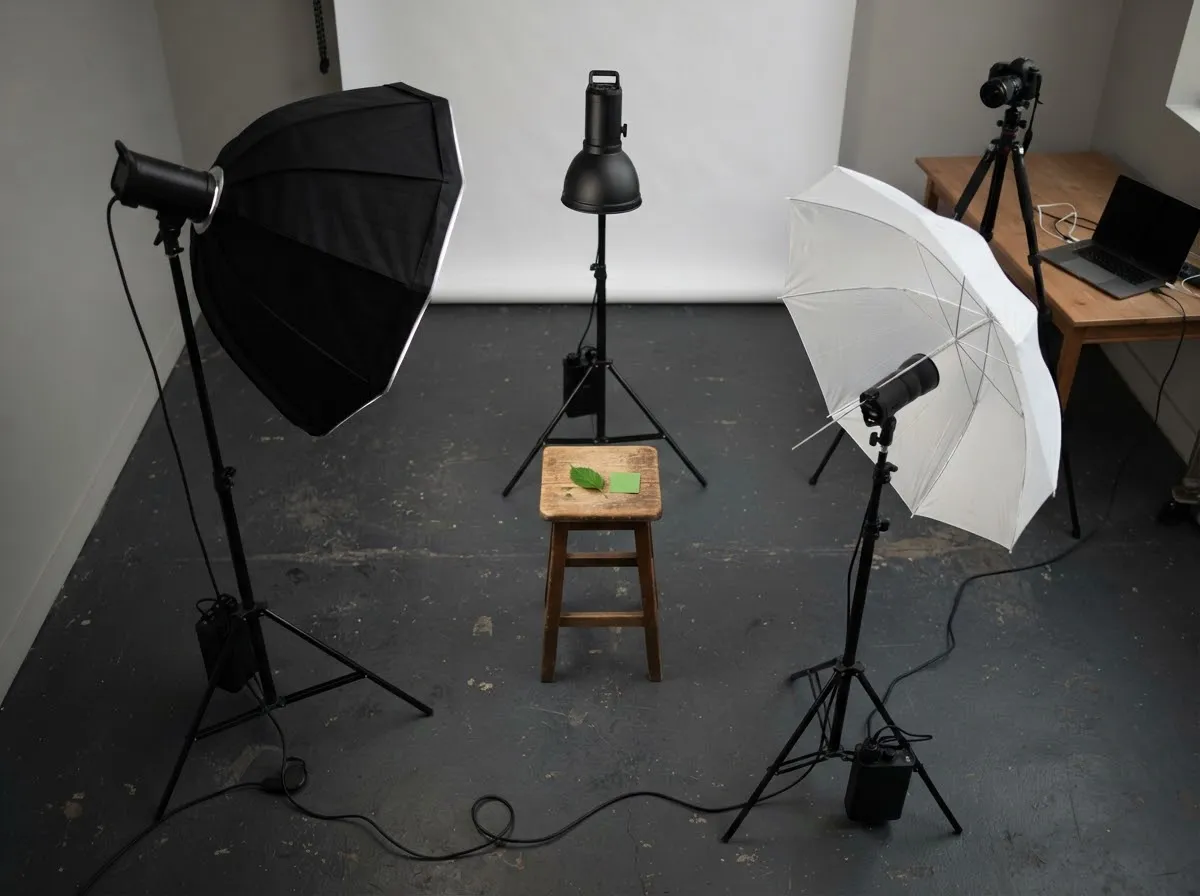
1. Key light (main illumination and shape)
The key light is the brightest light in your setup and sets your overall exposure. Instead of placing it directly beside the camera lens—which flattens facial features—position the key light in front of your subject and off to one side (commonly around a 45-degree angle) and slightly above eye level. That off-axis angle casts gentle shadows on the far side of the nose and cheek, creating depth and dimension.
2. Fill light (shadow contrast control)
The fill light sits on the opposite side of the camera from the key light. Its job is to lift the deep shadows cast by the key light just enough to reveal detail without erasing shadow shape entirely. A fill light is typically softer and noticeably dimmer than the key light—and in small rooms, a white wall or foam-board reflector bouncing key light back onto the shadow side performs the exact same job without a second power cord.
3. Backlight or rim light (separation)
The backlight (also called a rim light or hair light) is positioned behind and above your subject, aimed down toward the shoulders and hair while shielded from shining directly into the camera lens. It traces a crisp, subtle highlight along the subject’s outline so dark hair or clothing does not blend into a dark background.
Hard light vs. soft light: what changes the shadows
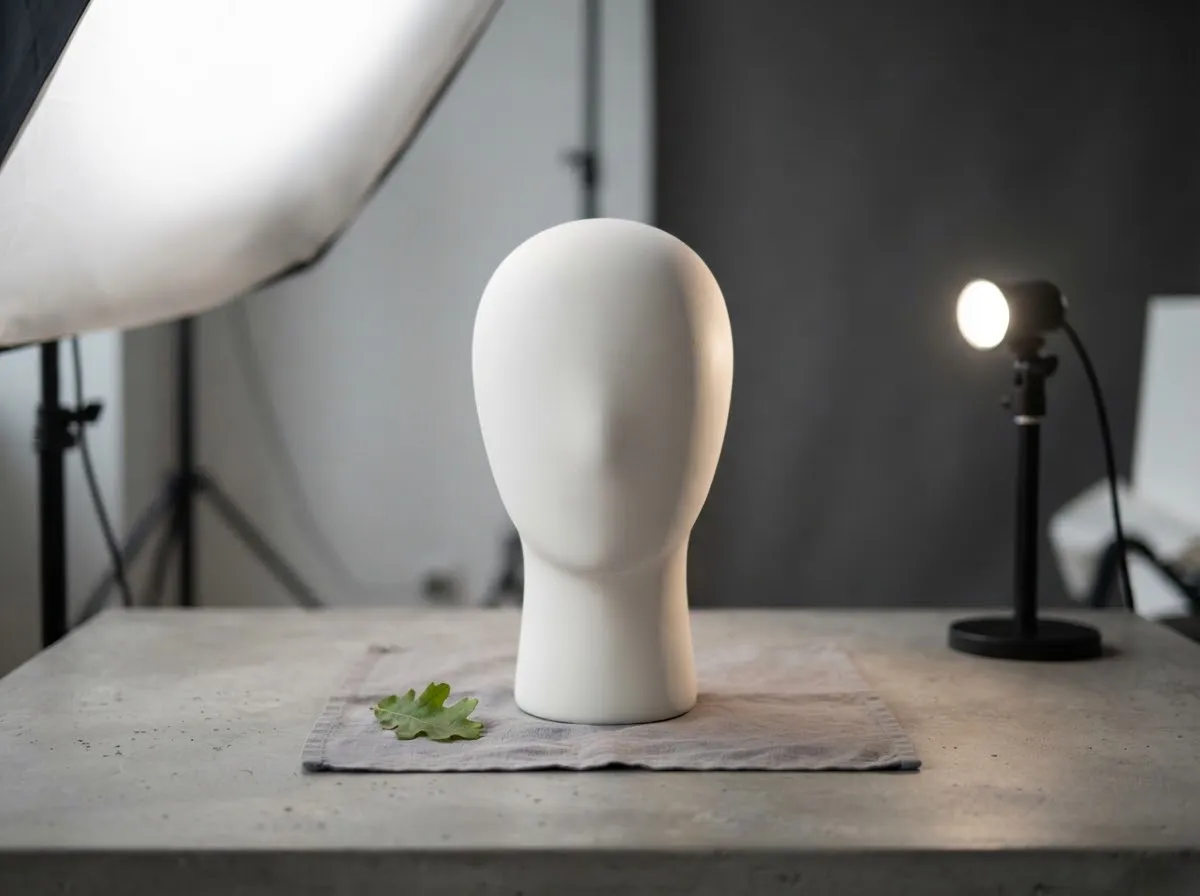
Whether your key light looks crisp and dramatic or smooth and flattering depends on its apparent angular size as seen from your subject:
- Small sources cast hard shadows. For perspective, NASA’s Sun Fact Sheet lists the Sun’s apparent diameter from Earth at 1,919 arcseconds (about 0.53 degrees)—which is why direct sunlight produces razor-sharp shadow edges. A bare speedlight or small un-diffused LED panel behaves similarly.
- Large sources cast soft shadows. Putting a softbox or umbrella on a strobe, or moving a diffused LED panel closer to your subject, makes the light wrap around contours and softens shadow transitions.
Read more about modifier size and shadow edges in shadow-quality comparison.
Controlling brightness with distance: the inverse-square law
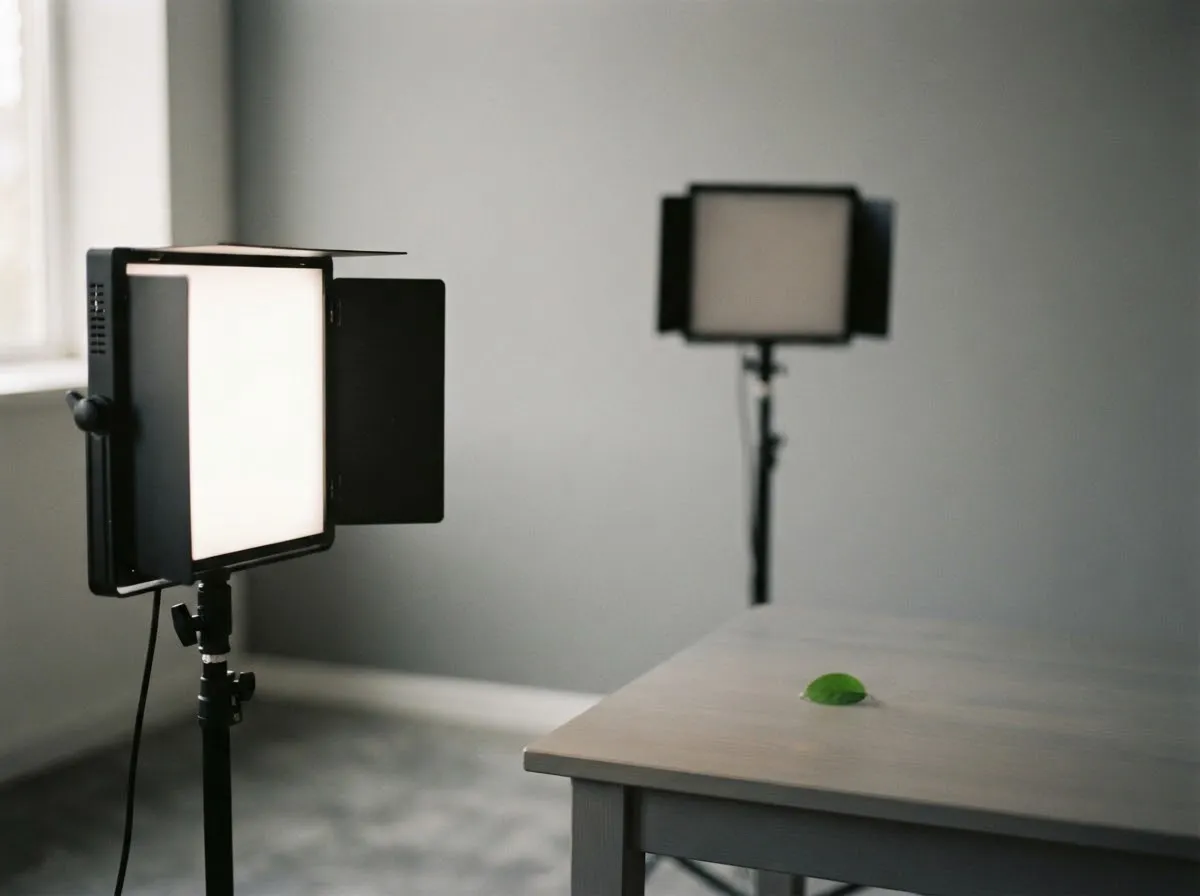
You do not always need a dimmer dial to balance your key and fill lights—moving a light changes its brightness predictably.
According to the inverse-square law (documented in Georgia State University’s HyperPhysics reference), illuminance from a point source is inversely proportional to the square of the distance:
- Double the distance (for example, from 1 m to 2 m) and light intensity drops to 1/4 (2 stops darker).
- Halve the distance and light intensity increases by 4× (2 stops brighter).
In real studio setups, large softboxes very close to a subject fall off slightly more gradually than a pinpoint bulb, but distance remains your fastest tool for balancing a subject against a background. Explore the math and worked examples in the inverse square law of light for photographers or test exact distances with our light distance exposure calculator.
Balancing light power in stops
Camera and flash systems both measure brightness changes in stops, where each +1 stop doubles the light and each −1 stop halves it:
- Manual flash power: Speedlight manuals such as Canon’s Speedlite EL-1 list manual output in halves:
1/1,1/2,1/4,1/8,1/16,1/32,1/64, and1/128. Each step down cuts light by 1 stop. - Camera exposure settings: Doubling ISO (for example, ISO 100 to 200), opening aperture by one full f-stop (such as f/5.6 to f/4), or—for continuous LEDs—doubling shutter time (1/100 s to 1/50 s) each adds 1 stop of exposure. For flash, shutter speed controls ambient room light up to the camera’s maximum sync speed, while aperture and ISO control both flash and ambient exposure.
See how all four variables fit together in exposure basics for lighting.
Common mistakes when setting up three-point lighting
- Equal key and fill brightness: Making the fill as bright as the key flattens the face and removes modeling.
- Backlight pointing into the lens: Unshielded backlights cause lens flare and washed-out contrast; angle them downward or use a barn door or flag.
- Mixed color temperatures: Using a warm tungsten desk lamp as a fill against a daylight LED key creates split orange-and-blue skin tones. Check our common lighting mistakes guide for quick fixes.
When using AC mains-powered studio strobes or LEDs on light stands, follow the manufacturer’s manual for power cables, ventilation, and sandbagging or stand stability.
Guides in the Setups and Exposure series
- The Inverse Square Law of Light for Photographers — Distance math, stop changes, and background falloff explained.
- Hard Light vs Soft Light: What Changes the Shadows — How source size and distance control shadow transitions.
- Common Lighting Mistakes in Photo and Video — Flat lighting, harsh shadows, mixed color casts, and glare fixes.
- Exposure Basics for Lighting: Stops, ISO, Aperture, Power — Connecting light output to camera exposure settings.
For how we verify specifications and standards across our guides, see our verification process.
All Setups And Exposure guides
- Common Lighting Mistakes in Photo and Video
Spot and fix the most common photo and video lighting mistakes: mixed color casts, flat on-axis light, harsh overhead shadows, and distance falloff.
- Exposure Basics for Lighting: Stops, ISO, Aperture, Power
Understand how stops of light connect aperture, shutter speed, ISO, and flash or LED power so you can adjust lighting exposure accurately.
- Hard Light vs Soft Light: What Changes the Shadows
Compare hard light vs soft light in photography and video: how source size, distance, and penumbra geometry control shadow edge softness.
- Headshot Lighting at Home
Set up clean headshot lighting at home with a window or a single LED or strobe, covering light angle, background separation, and shadow fill.
- Key-to-Fill Ratio Explained
Learn what key-to-fill lighting ratios mean in f-stops, how 2:1, 4:1, and 8:1 contrast looks on camera, and how to measure ratios with a light meter.
- Light Meters: Incident vs Reflected Readings
Understand incident vs reflected light meter readings, why camera meters aim for middle gray, and when a handheld dome or spot reading helps.
- ND Filters in Bright Light: Stops and Shutter Speed
Use neutral density (ND) filters in bright daylight to keep wide apertures or 180-degree video shutter speeds, with optical density and stop math.
- Portrait Lighting Patterns: Loop, Rembrandt, Butterfly
Learn how loop, Rembrandt, butterfly, and split portrait lighting patterns work by light angle and shadow shape, with setup steps for each.
- Product Photography Lighting at Home
Set up clean product photography lighting at home using diffusion, bounce cards, and reflection control for matte, glossy, and transparent items.
- Shutter Speed, Aperture, ISO and Light
Understand how shutter speed, aperture, and ISO work together in stops of light, and how to balance them for flash, continuous LED, and natural light.
- The Inverse Square Law of Light for Photographers
Learn how the inverse square law controls light falloff, exposure stops, and background separation in photography and video.
Common questions
Do I need three separate lights to use three-point lighting?
No. Three-point lighting describes three lighting jobs, not a mandatory shopping list. You can use a window or single LED as your key light, bounce light off a white foam board or wall for your fill light, and rely on natural room separation or add a small rim light only when your subject blends into a dark background.
Where should the key light be placed relative to the camera?
Place the key light in front of your subject and off to one side of the camera axis—commonly near a 45-degree angle—and slightly above eye level. Placing the light off-axis lets shadows fall gently across one side of the face, creating three-dimensional depth instead of the flat look of on-camera flash.
How bright should the fill light be compared to the key light?
The fill light should almost always be dimmer than the key light so your subject keeps clear shadow direction and depth. If the fill light matches the key light in brightness, shadows disappear and the subject looks flat. You can lower fill brightness by dimming the fixture, diffusing it, or moving it farther away.
What is the purpose of the backlight or rim light?
The backlight shines from behind and above the subject toward the shoulders and hair, creating a subtle bright edge that separates the subject from the background. It is especially helpful when dark hair or dark clothing would otherwise merge into a dim backdrop.
How does moving a light closer change both brightness and softness?
Moving a diffused light closer to your subject does two things at once: it increases the light's apparent angular size, making shadow edges softer, and it increases brightness rapidly according to the inverse-square law. Because the light is brighter up close, you can lower fixture power or close down your lens aperture.
What we checked
- BMCC OpenLab (CUNY): Exterior and Interior Lighting Part 2 (Three Point Lighting), checked 2026-11-14 (openlab.bmcc.cuny.edu)
- HyperPhysics (Georgia State University): Inverse Square Law for Light, checked 2026-11-14 (hyperphysics.phy-astr.gsu.edu)
- NASA Goddard Space Flight Center: Sun Fact Sheet, checked 2026-11-14 (nssdc.gsfc.nasa.gov)
- Canon Speedlite EL-1 Product Manual: Specifications, checked 2026-11-14 (cam.start.canon)
- Canon EOS R3 Product Manual: Flash Function Settings, checked 2026-11-14 (cam.start.canon)
You might also like
- The Inverse Square Law of Light for Photographers
Learn how the inverse square law controls light falloff, exposure stops, and background separation in photography and video.
- Hard Light vs Soft Light: What Changes the Shadows
Compare hard light vs soft light in photography and video: how source size, distance, and penumbra geometry control shadow edge softness.
- Common Lighting Mistakes in Photo and Video
Spot and fix the most common photo and video lighting mistakes: mixed color casts, flat on-axis light, harsh overhead shadows, and distance falloff.
- Exposure Basics for Lighting: Stops, ISO, Aperture, Power
Understand how stops of light connect aperture, shutter speed, ISO, and flash or LED power so you can adjust lighting exposure accurately.
- Video Lighting Setup for Calls and YouTube
Build a clean video lighting setup for calls and YouTube using window light or continuous LEDs, simple angles, distance control, and color matching.
- Headshot Lighting at Home
Set up clean headshot lighting at home with a window or a single LED or strobe, covering light angle, background separation, and shadow fill.