Light Meters: Incident vs Reflected Readings
Author: Fiat Lux Guides Editorial Team Reviewer: Fiat Lux Guides Editorial Team Most recently reviewed First published Filed under Setups and Exposure
An incident light meter measures the light falling onto the subject using a white diffuser dome, giving consistent exposure regardless of whether the subject wears white or black. A reflected light meter—including the meter built into every camera—measures light bouncing off the scene and tries to render the target as middle gray, which can underexpose bright snow or overexpose dark backdrops.
Belongs to the guide: Three-Point Lighting Explained for Beginners
Understanding incident vs. reflected light meter readings explains why your camera’s built-in meter can be fooled by a white shirt or a dark wall, while a handheld dome meter gives the exact same exposure every time. In three-point lighting, knowing how to measure light falling on a subject—rather than just light bouncing back—lets you set repeatable exposure and precise contrast ratios before you take a test frame.
How incident metering works
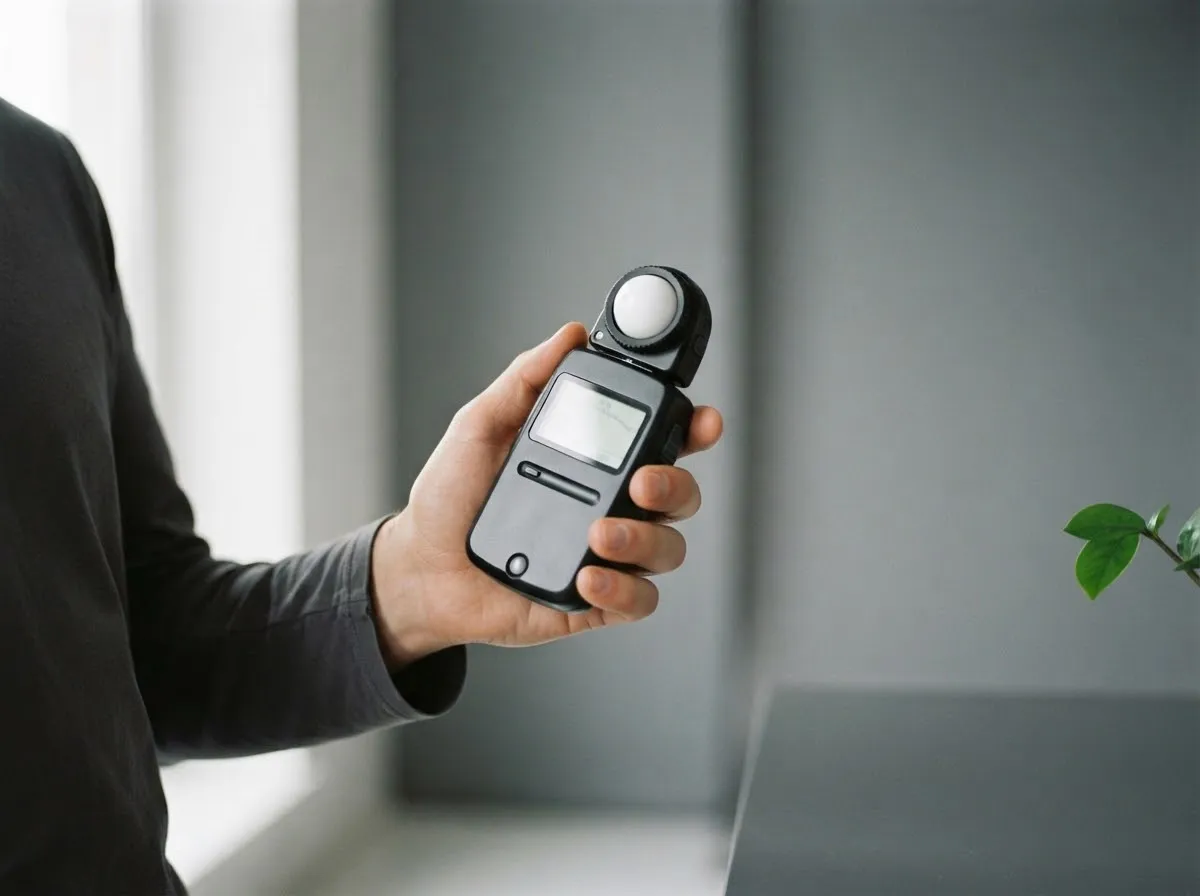
An incident light meter measures the intensity of light arriving at the subject. You stand at the subject’s position, hold the white diffusing dome (often called a lumisphere on Sekonic meters) in front of the subject, and point it back toward the camera lens.
Because the dome only sees the light hitting the subject, it ignores what the subject is wearing or standing in front of. As Sekonic’s light metering guide explains, incident meters are not affected by variances in subject color or reflectance, so a white shirt or dark backdrop does not shift the reading.
How reflected metering works (and why cameras get fooled)
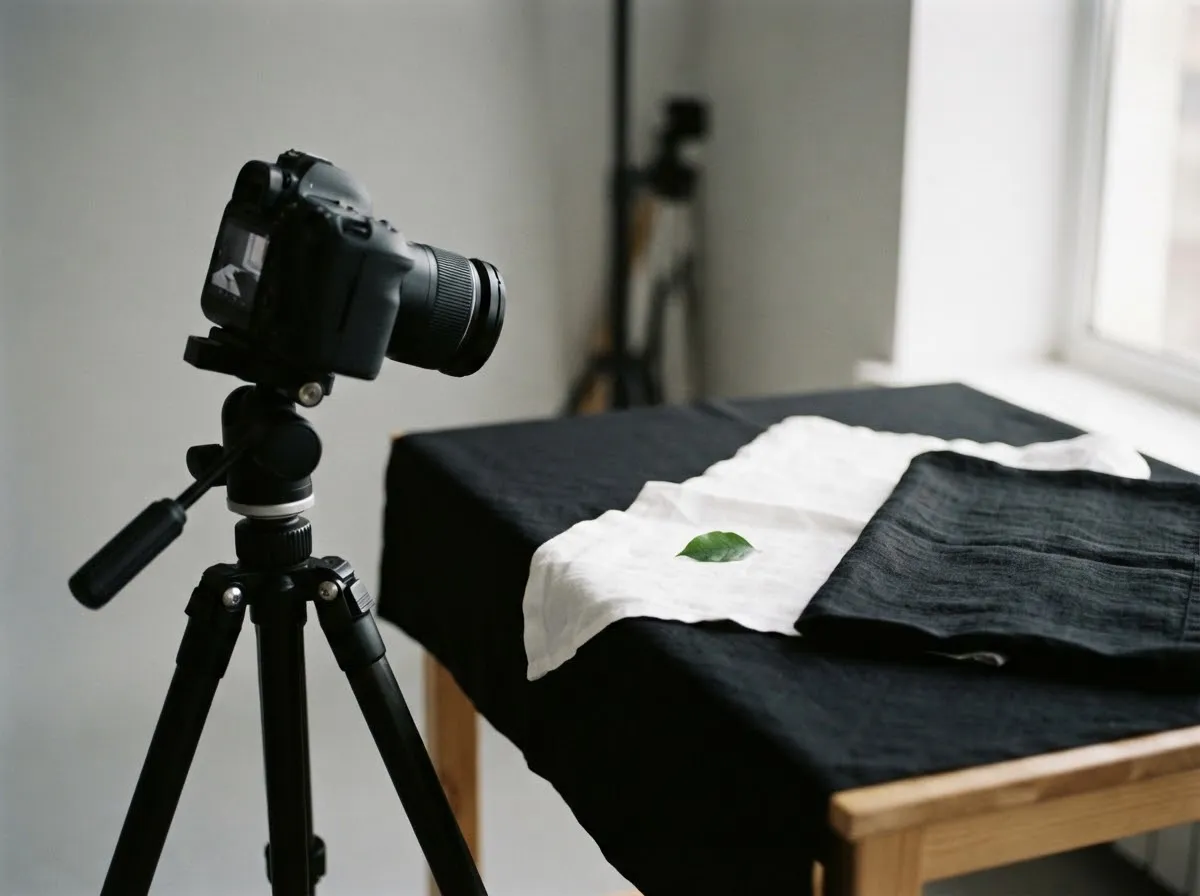
Every camera’s built-in exposure meter is a reflected light meter: it reads the light bouncing off the scene toward the lens. Reflected meters are calibrated to place whatever tone they measure at medium gray (18% reflectance, per Gossen).
As Gossen’s meter guide notes, a reflected meter treats what it sees as medium gray with 18% reflectance, so metering an 18% gray card in reflected mode gives the incident result. When you aim a reflected meter at:
- A white wedding dress or bright snow: The meter sees high reflectance and darkens the exposure, turning white gray unless you add positive exposure compensation.
- A black coat or dark studio backdrop: The meter sees low reflectance and brightens the exposure, washing out blacks into muddy gray unless you dial in negative exposure compensation.
Measuring studio strobes and lighting ratios
Handheld incident meters shine when working with manual strobes and multi-light setups where a camera’s live view cannot preview the flash burst:
- Set ISO and shutter speed on the meter to match your camera (for flash, stay at or below your camera’s sync speed).
- Measure the key light alone (with fill and rim lights off or shaded) to read the exact aperture needed at the subject’s face.
- Measure the fill light alone (or key + fill together) to calculate the exact stop difference for your key-to-fill ratio.
- Check distance changes: If you move a light stand closer or further away, use our light distance exposure calculator or re-meter at the subject.
When to choose incident vs. reflected spot readings
- Use an incident meter for portraits, headshots, product tabletops, and multi-light video or flash sets where you can walk up to the subject and want consistent skin tones across changing outfits or backdrops.
- Use a reflected spot meter or camera meter for distant landscapes, backlit skies, glowing screens, or scenes you cannot physically reach.
For a refresher on how stops, ISO, aperture, and shutter speed work together once you have a meter reading, see our exposure basics for lighting and shutter speed, aperture, ISO, and light guides, and review our review standards.
| Attribute | Incident meter | Reflected meter (camera / spot) |
|---|---|---|
| What it measures | Light falling onto the subject | Light bouncing off the subject toward the camera |
| Meter location & aim | Held at the subject, dome aimed back toward the camera or light | Held at the camera, aimed at the subject or scene |
| Effect of subject color | None; white and black subjects meter identically under the same light | Strong; white subjects pull exposure darker, black subjects pull exposure brighter |
| Flash & lighting ratios | Reads flash and ambient separately; ideal for key-to-fill ratios | Camera meters cannot measure manual studio strobes before firing |
Common questions
Why does my camera's built-in meter make snow look gray?
Your camera's built-in meter is a reflected light meter calibrated to render whatever it sees as middle gray. Because snow reflects far more light than a middle-gray card, the meter assumes the scene is brightly lit and recommends a darker exposure, turning white snow gray unless you dial in positive exposure compensation.
Where do you point an incident light meter dome?
Hold the meter right at the subject's position (next to their face for portraits) with the white hemispherical dome (lumisphere) pointed straight back toward the camera lens. To measure individual key, fill, or rim lights for lighting ratios, switch off the other lights and meter each one in turn.
Can an incident light meter measure studio flash and ambient light together?
Yes. Dedicated handheld flash meters (such as Sekonic's incident meters) read both continuous ambient light and brief studio flash bursts, with a flash-versus-ambient analysis (Sekonic's L-478DR lists it in 10% steps) so you can balance strobes cleanly with daylight without guessing at the ratio between the two.
When is a reflected spot meter better than an incident meter?
A narrow-angle reflected spot meter is better when you cannot walk up to the subject—such as distant landscapes, stage performers, or backlit skies—or when you want to measure the exact brightness range between a specific highlight and shadow area from the camera position.
Do I need a handheld light meter if my mirrorless camera has live histograms?
Not for every shoot, because live histograms and zebras show reflected exposure in real time for continuous light and daylight. However, a handheld incident meter remains faster and more exact when setting multi-light studio strobes, matching key-to-fill ratios, or keeping skin tones identical across wardrobe changes.
What we checked
- The Benefits of Using Light Metering — Sekonic Classroom, checked 2026-11-14 (sekonic.com)
- Calibration of exposure meter — Gossen, checked 2026-11-14 (gossen-photo.de)
- L-478DR-U LiteMaster Pro light meter — Sekonic, checked 2026-11-14 (global.sekonic.com)
You might also like
- Three-Point Lighting Explained for Beginners
Learn three-point lighting—key light, fill light, and backlight—plus how source size controls shadow softness and how distance and stops control exposure.
- Common Lighting Mistakes in Photo and Video
Spot and fix the most common photo and video lighting mistakes: mixed color casts, flat on-axis light, harsh overhead shadows, and distance falloff.
- Exposure Basics for Lighting: Stops, ISO, Aperture, Power
Understand how stops of light connect aperture, shutter speed, ISO, and flash or LED power so you can adjust lighting exposure accurately.
- Hard Light vs Soft Light: What Changes the Shadows
Compare hard light vs soft light in photography and video: how source size, distance, and penumbra geometry control shadow edge softness.
- Headshot Lighting at Home
Set up clean headshot lighting at home with a window or a single LED or strobe, covering light angle, background separation, and shadow fill.
- The Inverse Square Law of Light for Photographers
Learn how the inverse square law controls light falloff, exposure stops, and background separation in photography and video.