Lighting for Glasses: Avoiding Glare on Camera
Author: Fiat Lux Guides Editorial Team Reviewer: Fiat Lux Guides Editorial Team Most recently reviewed First published Filed under Video Lighting
Avoid glasses glare on camera by moving your light source off the camera axis so reflected rays miss the lens. Because the angle of reflection equals the angle of incidence, raising and angling a light to the side directs glare downward and away from the camera. Lowering monitor brightness and using anti-reflective lens coatings reduce remaining reflections.
Belongs to the guide: Video Lighting Setup for Calls and YouTube
Checked by Fiat Lux Guides’ editorial desk against the cited sources.
Glare on eyeglasses during a video call or studio shoot happens because smooth eyeglass lenses act like partial mirrors. In any video lighting setup, solving reflections comes down to controlling the geometry between your light source, your lenses, and your camera. Once you move the light out of the reflection path, your eyes stay clearly visible without sacrificing facial illumination.
Why glasses reflect light into the camera
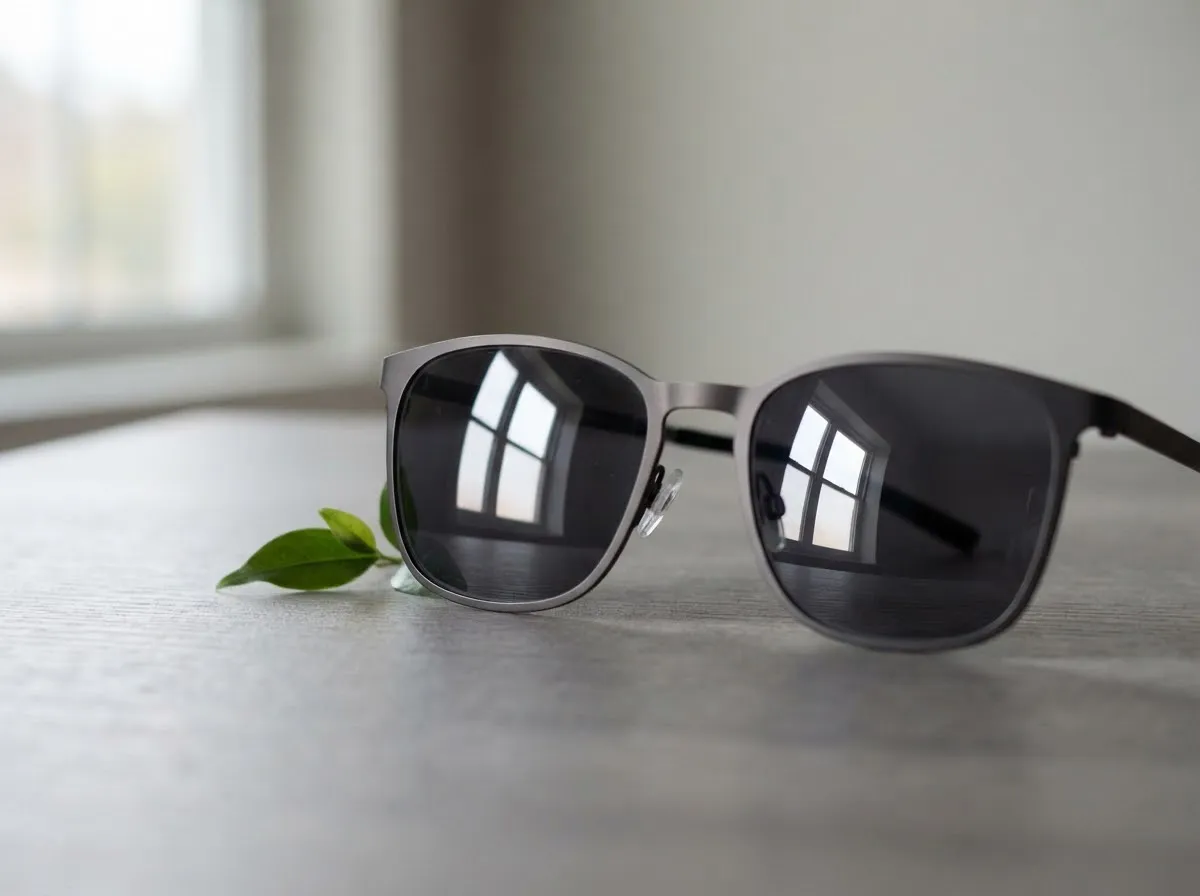
Smooth eyeglass lenses produce specular reflection, meaning incoming light rays bounce off at a single predictable angle rather than scattering in all directions. According to the law of reflection, the angle of reflection equals the angle of incidence, with both angles measured from the line perpendicular (normal) to the lens surface.
When a light sits directly next to or around your camera—such as a webcam-mounted ring light—its rays strike your glasses nearly perpendicular to the surface and bounce straight back into the camera sensor. Curved prescription lenses also widen the range of angles that can catch a reflection, because different parts of the lens curve face slightly different directions.
How to position lights to avoid glasses glare
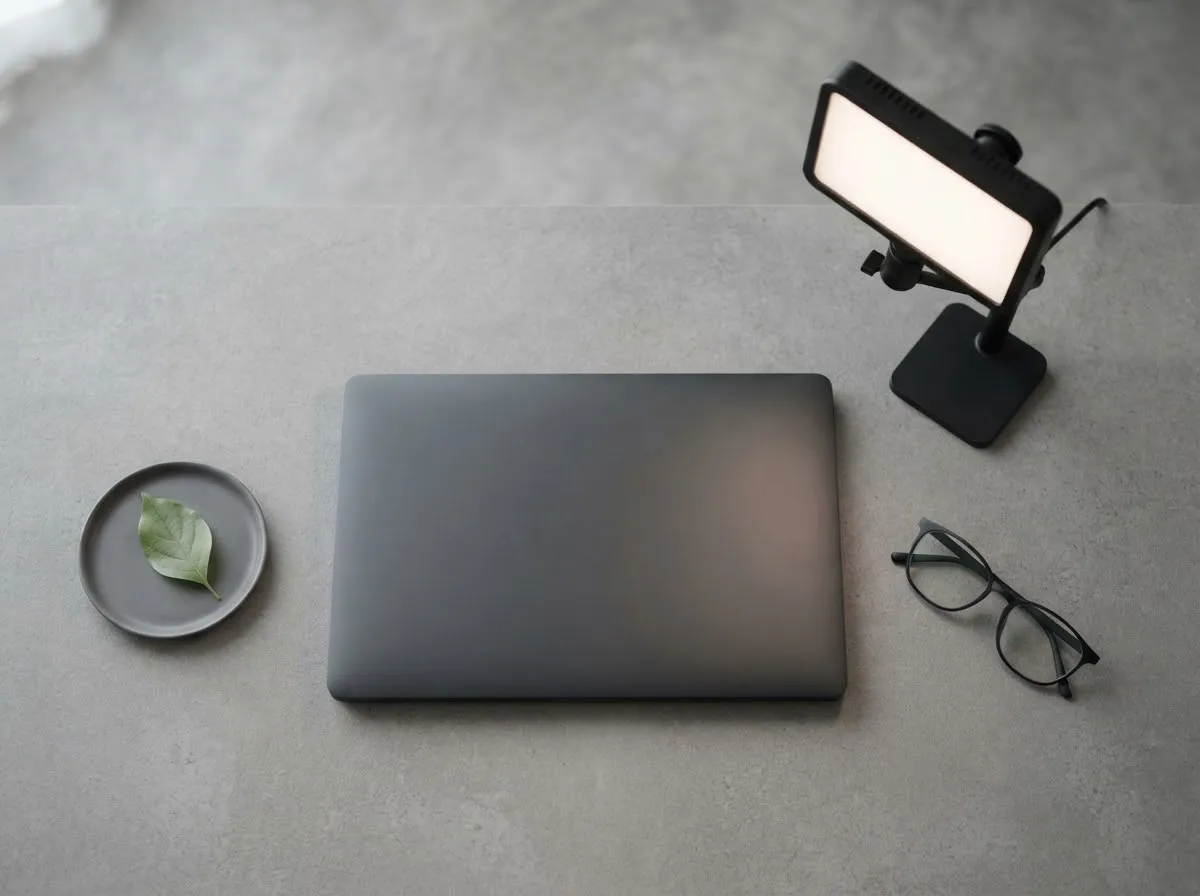
Move your main light higher than the camera and off to one side so the reflected rays miss the lens entirely. Raising the light increases the vertical angle of incidence, which sends the reflected beam downward toward your chest or desk instead of horizontally into the camera.
- Offset the light horizontally: Shift your key light to the left or right of the camera axis rather than placing it directly behind your monitor. Even a modest lateral offset moves the reflection off the pupil area and toward the edge of the frame—or completely out of the camera’s view.
- Raise the light above eye level: Elevate your LED panel or softbox and angle it downward toward your face. Check your camera preview while raising the stand: you will see the bright reflection slide down the lens and disappear below the frame.
- Use two angled lights instead of one centered ring: If you use a ring light for video calls, placing it directly around the webcam almost guarantees a circular reflection in glasses. Switching to two softer lights angled from the left and right—or moving a single softbox off-axis and adding a white bounce card on the opposite side—keeps both sides of your face lit without a centered hotspot.
If you rely on window light for video and calls, turn your desk slightly so the window is to your side rather than directly behind your monitor. That lateral angle keeps the bright rectangle of the window out of your lenses while preserving soft, directional light.
Camera, head, and frame adjustments that help
Small physical adjustments to the camera height, your posture, and your frames change the surface normal of the lenses and redirect reflections away from the sensor.
- Raise or lower the camera slightly: Moving the webcam just above eye level while you look slightly up—or keeping the camera at eye level while your lights stay higher—breaks the direct mirror path between the light and the lens.
- Tilt your glasses forward slightly: Raising the temple arms a few millimeters on your ears tilts the front of the lenses downward. That slight tilt aims reflections from overhead lights or monitors down toward the keyboard rather than straight into the camera.
- Match light size to distance: Larger, diffused sources such as softboxes wrap light gently across the face, which you can estimate with our softbox softness calculator. However, a very large modifier placed too close to the camera axis covers a wider angular span in the room, making it more likely to appear in curved lenses. Stepping the light slightly further off-axis solves both issues.
Reducing computer screen reflections in glasses
On a video call, your computer monitor is often the largest light source directly in front of your face. Because the screen sits right below or behind the webcam, its rectangle frequently appears in eyeglass lenses even when your room lights are positioned well.
- Lower monitor brightness: Reducing screen brightness lowers the intensity of the reflection relative to your key light. When your key light is noticeably brighter than the monitor, the camera exposes for your face and the faint screen reflection becomes far less distracting.
- Switch to dark-mode interfaces: Replacing bright white windows or video-call backgrounds with darker themes cuts the total light emitted toward your lenses.
- Increase distance from the screen: Sitting slightly further back reduces the angular size of the monitor from your glasses’ perspective, shrinking any remaining reflection.
Anti-reflective coatings and polarizing filters
Optical coatings and camera filters change how much light reflects off the glass surface, though neither replaces proper light placement.
- Anti-reflective (AR) lens coatings: Optical coatings apply thin layers—such as magnesium fluoride ($n = 1.38$)—to cause destructive thin-film interference between light waves reflecting off the front and back of the coating. This cancels most visible reflections, leaving only a faint green or magenta tint at steep angles instead of an opaque white glare.
- Circular polarizing filters: When unpolarized light reflects from glass at Brewster’s angle, the reflected light is completely polarized. On a mirrorless or DSLR camera, rotating a circular polarizer on the lens can dim angled reflections, though it will not block straight-on reflections and reduces total light reaching the sensor.
Quick checklist for glare-free glasses on camera
Use this sequence before a call or recording to clear reflections quickly, and check our video call lighting guide or common lighting mistakes if shadows or exposure look uneven afterward.
| Problem in camera preview | Likely reflection source | Immediate fix |
|---|---|---|
| Bright circle around pupils | Centered ring light | Move light off-axis and raise above eye level |
| Bright rectangle in lenses | Computer monitor | Lower screen brightness, use dark mode, sit back |
| Sharp white dot in lens | Bare bulb or small LED | Diffuse the light and shift it to the side |
| Faint colored sheen | AR coating residual glare | Angle key light higher and away from camera axis |
Details on how we verify optical and lighting guidance are published in our sourcing rules.
Common questions
Why do my glasses reflect my ring light or monitor on camera?
Eyeglass lenses are smooth dielectric surfaces that produce specular reflections when light hits them from near the camera axis. According to the law of reflection, light leaves the lens at the same angle it arrives relative to the surface normal, so any light placed directly behind or beside the webcam bounces straight back into the camera lens.
Where should I place a light to stop glasses glare?
Place your key light higher than eye level and off to the side of the camera rather than straight in front of your face. Moving the source away from the camera axis increases the angle of incidence, which steers the reflected beam downward and to the opposite side so it misses the camera lens.
Does tilting my glasses forward help reduce reflections?
Tilting the frames slightly forward at the top tilts the surface normal downward. Because the reflected ray mirrors the incoming ray around that normal, a small downward tilt redirects reflections from high lights or monitors toward your desk instead of into a webcam positioned at eye level.
Do anti-reflective lens coatings eliminate all camera glare?
Anti-reflective coatings use thin-film interference to cancel most reflected wavelengths, which makes lenses appear much clearer on camera. However, coatings do not eliminate 100 percent of reflections at every angle or wavelength, so bright on-axis lights or computer monitors can still leave a faint colored sheen if positioned directly in front of the lens.
Can a polarizing filter remove glasses glare on a webcam or camera?
A circular polarizing filter on a camera lens can reduce reflections when light strikes the glasses near Brewster's angle, where reflected light is strongly polarized. It is less effective for straight-on reflections and can darken the scene, so changing light angles remains the primary fix.
What we checked
- OpenStax University Physics Volume 3, Section 1.2: The Law of Reflection, checked 2026-11-14 (openstax.org)
- OpenStax University Physics Volume 3, Section 3.4: Interference in Thin Films, checked 2026-11-14 (openstax.org)
- OpenStax University Physics Volume 3, Section 1.7: Polarization, checked 2026-11-14 (openstax.org)
You might also like
- Video Lighting Setup for Calls and YouTube
Build a clean video lighting setup for calls and YouTube using window light or continuous LEDs, simple angles, distance control, and color matching.
- Green Screen Lighting: Even Backdrop, Clean Key
Light a green screen evenly and separate your subject from the backdrop to eliminate shadows, hotspots, and green spill for clean chroma keying.
- LED Flicker on Camera: Shutter Speed and Banding
Stop LED flicker and rolling-shutter banding in video and stills by matching shutter speed to 50 Hz or 60 Hz mains and using anti-flicker tools.
- Lighting a Small Home Office for Video
How to light a cramped home office or bedroom desk for sharp, flattering video calls and recordings without bulky stands or wall glare.
- Lighting for Online Teaching and Webinars
Set up comfortable, flicker-free, low-glare lighting for multi-hour online teaching, webinars, and livestreams with steady color.
- Lighting for Talking-Head Videos
Light talking-head and interview videos cleanly with one, two, or three lights by controlling key angle, fill ratio, hair separation, and glare.