Video Lighting Setup for Calls and YouTube
Author: Fiat Lux Guides Editorial Team Reviewer: Fiat Lux Guides Editorial Team Most recently reviewed First published Filed under Video Lighting
A video lighting setup uses continuous light—either a window or an LED fixture—positioned in front of and slightly off to one side of the speaker so the face is evenly lit without harsh shadows or webcam noise. Controlling source size, light distance, and color temperature keeps skin tones natural on both video calls and YouTube recordings.
Checked by Fiat Lux Guides’ editorial desk against the cited sources.
Whether you are joining a daily video call on a laptop webcam or filming a talking-head YouTube tutorial on a mirrorless camera, good video lighting solves the same three problems: giving the camera sensor enough light, shaping soft, flattering shadows on your face, and keeping color temperature consistent across the room.
Because video captures continuous frames, you cannot use a camera flash—your light must come from a window, a continuous LED fixture, or a combination of both.
Why video calls and YouTube need continuous light
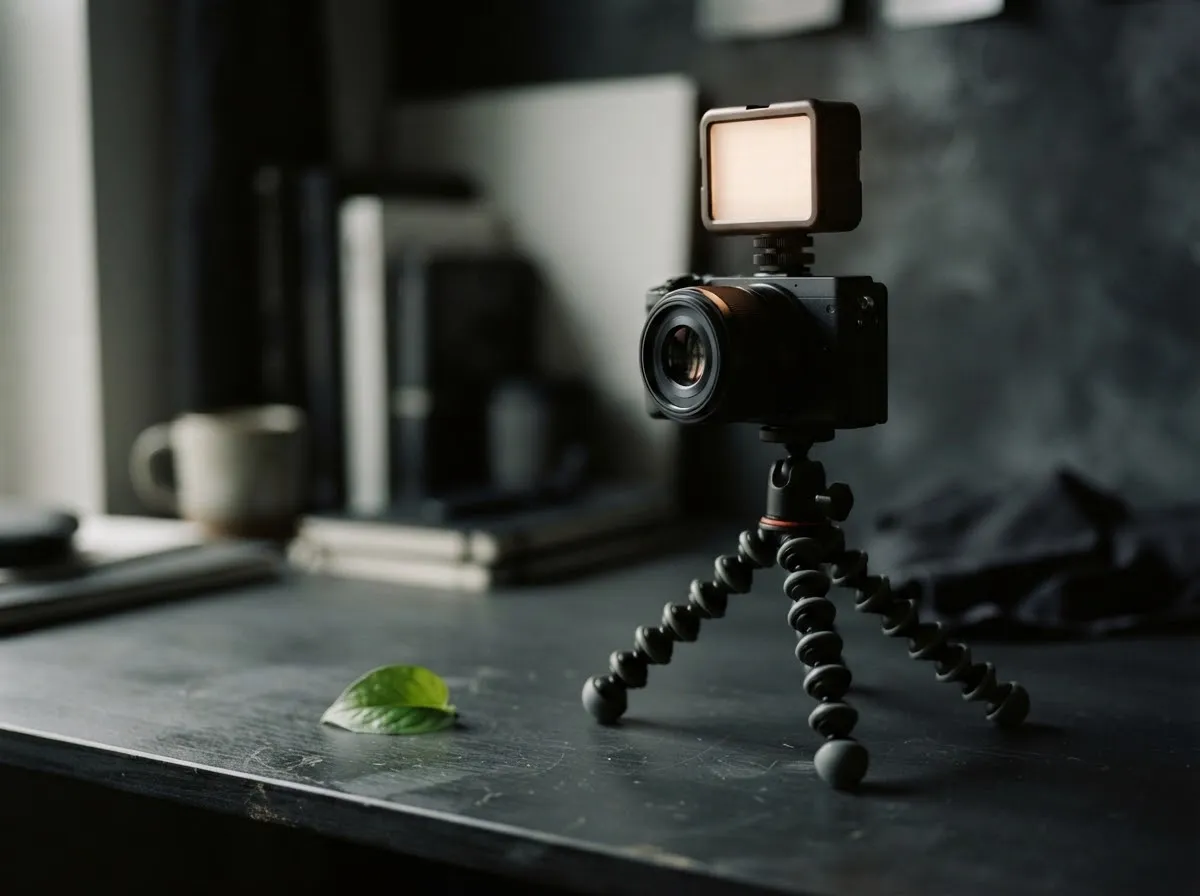
Webcams and compact cameras have small sensors that struggle in dim rooms: when light is low, the camera raises electronic gain (ISO), producing noisy, smeared skin tones and sluggish motion. Adding a dedicated continuous light in front of you gives the sensor clean signal without relying on overhead ceiling bulbs.
If you are choosing between fixture types, see our comparison of LED and flash lighting. For desk video, continuous LEDs—panels, diffused COB lights, or ring lights—are the standard choice because you see the exact result on screen before you hit record.
Step 1: Fix direction before buying gear
Before adding any lamp, check where your existing light comes from:
- Never put a bright window behind you. Automatic exposure meters for the bright sky behind your shoulders, turning your face into a dark silhouette.
- Never rely solely on overhead ceiling lights. Light straight above your head casts dark shadows inside your eye sockets and under your chin.
- Face the light (or angle slightly to the side). Turning your desk to face a window—or placing a continuous light behind and slightly to one side of your webcam—puts soft light directly across your face.
See our dedicated guide on window light for video and calls for desk layouts and curtain diffusion tips.
Step 2: Position your key light (and optional fill and back light)
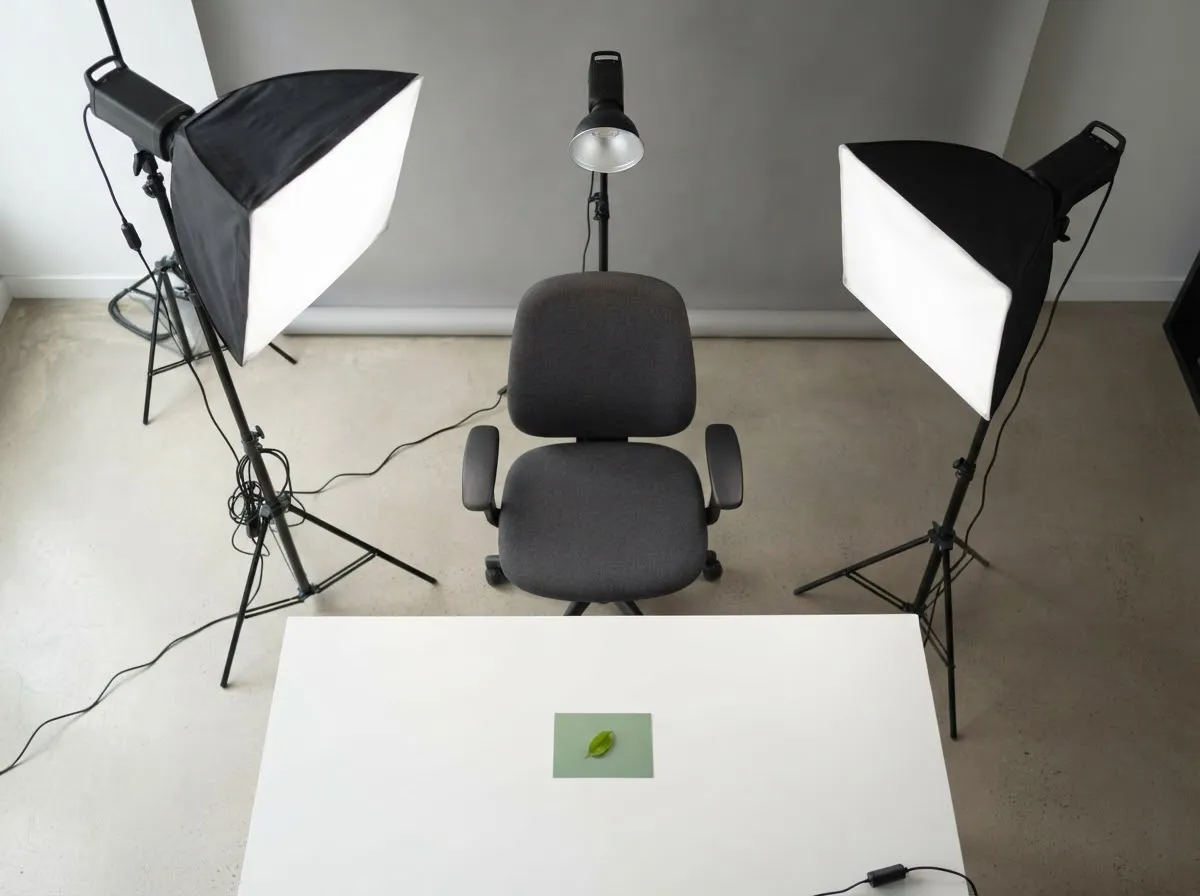
Video production courses, such as BMCC’s Video Technology curriculum, teach three-point lighting as a flexible starting framework rather than a rigid rule:
- Key light: Your primary, brightest light source. Place it in front of you, slightly above eye level, and off to one side of the camera (often around a 45-degree angle) so one side of your face has gentle highlight and the other has soft shadow depth.
- Fill light (or bounce): Softens the shadow side opposite the key light without erasing all depth. On a small desk, a white wall, poster board, or dim secondary panel on the opposite side works well.
- Backlight (rim light): Placed behind and above you, aimed at your shoulders and hair (and kept out of the lens) to separate you from the background wall.
You do not need three fixtures to start. Most webcam lighting tips setups use a single diffused LED key light plus a nearby wall for bounce, while a YouTube lighting setup on a budget often adds a small accent or rim light to give the background depth.
Step 3: Control softness and brightness with distance
Two rules govern how your video light looks at a desk:
- Apparent size controls softness. A tiny bare LED bulb or small un-diffused panel casts crisp, distracting shadows and harsh reflections on skin. Putting a softbox, diffusion dome, or frosted panel in front of the LED—and moving that diffused source closer to you—increases its apparent size and wraps softer light around your face.
- Distance controls brightness. Per the inverse-square law documented in HyperPhysics, moving a small light twice as far away drops its brightness to one-quarter (2 stops darker). You can see this in manufacturer photometrics such as Aputure’s LS 600c Pro table, where bare-bulb output at 3200 K drops from 13,700 lux at 1 m to 1,638 lux at 3 m. At a desk, moving your LED closer lets you dim the fixture down, reducing glare in your eyes and keeping background walls darker for separation.
Estimate how moving a desk light changes exposure with our light distance exposure calculator.
Step 4: Match color temperature and check TLCI
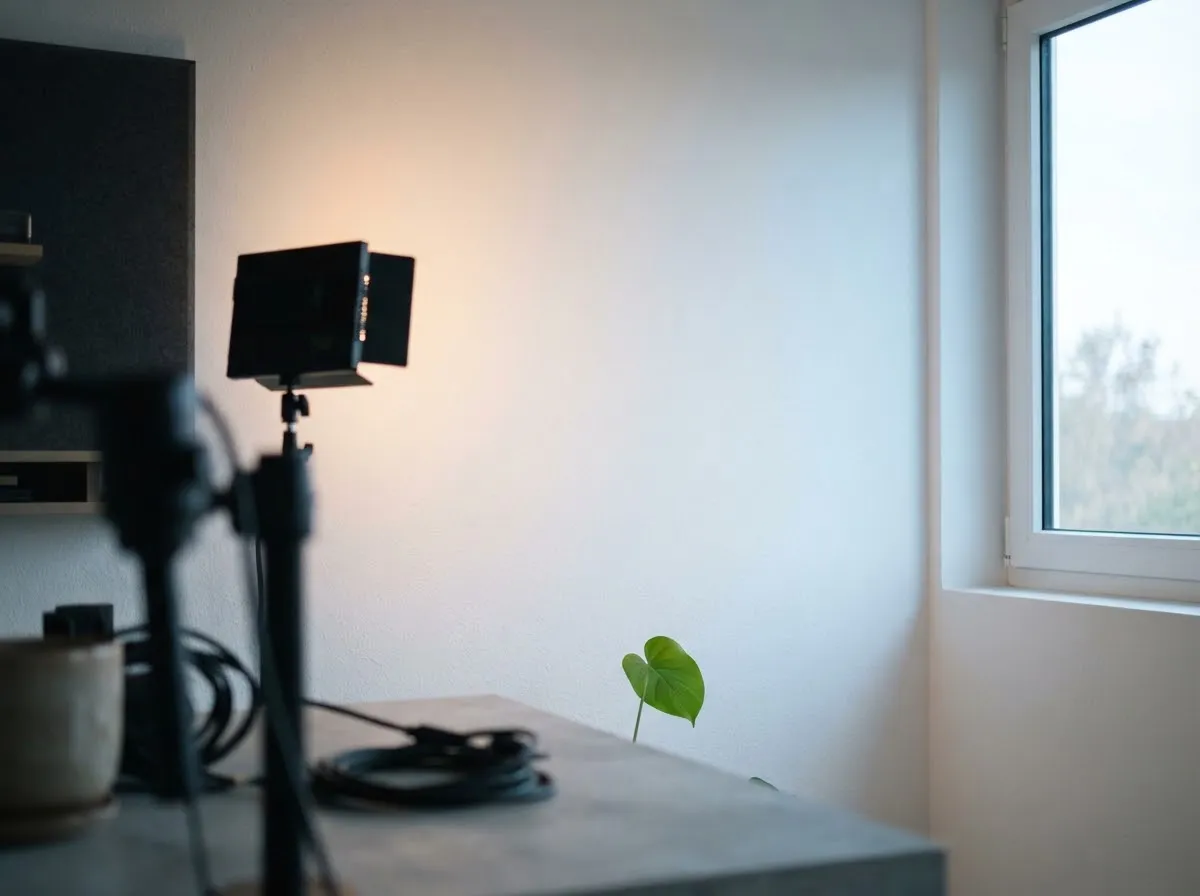
Mixing a cool ~6000 K window with a warm ~3200 K desk lamp creates competing orange and blue casts across your face and background. As Canon’s white balance documentation notes, cameras apply a single color correction to the whole frame, so mixed sources cannot both look neutral at once.
To keep video colors clean:
- Turn off conflicting room bulbs or draw the blinds if you are lighting purely with LEDs.
- Match your LED’s Kelvin setting to any remaining daylight (typically 5200–5600 K) or warm room lamps (~3200 K). Use our Kelvin color temperature chart to check standard presets.
- Check CRI and TLCI specs. When comparing video LEDs, check the maker’s specification sheet for TLCI (defined in EBU Tech 3355 to measure how a camera sensor reproduces color) alongside CRI. Higher TLCI scores indicate more consistent color on camera (Aputure’s LS 600c Pro lists CRI ≥ 95 and TLCI ≥ 98).
When using AC mains-powered LED fixtures on stands around a desk, follow the manufacturer’s manual for power cords, ventilation, and stand weight limits.
Guides in the Video Lighting series
- Video Call Lighting: Look Better on Webcam — Fast single-light and window setups for small desks and laptops.
- YouTube Lighting Setup on a Budget — How to light a talking-head frame and background with one or two continuous lights.
- Window Light for Video and Calls — Dealing with changing sun, window glare, and desk orientation.
For deeper fundamentals on shadow shaping and color, see three-point lighting explained and color temperature and white balance explained, or read our sourcing rules.
All Video Lighting guides
- Green Screen Lighting: Even Backdrop, Clean Key
Light a green screen evenly and separate your subject from the backdrop to eliminate shadows, hotspots, and green spill for clean chroma keying.
- LED Flicker on Camera: Shutter Speed and Banding
Stop LED flicker and rolling-shutter banding in video and stills by matching shutter speed to 50 Hz or 60 Hz mains and using anti-flicker tools.
- Lighting a Small Home Office for Video
How to light a cramped home office or bedroom desk for sharp, flattering video calls and recordings without bulky stands or wall glare.
- Lighting for Glasses: Avoiding Glare on Camera
Stop glasses glare on camera using the law of reflection: raise and angle your lights, adjust screen brightness, and use anti-reflective lens coatings.
- Lighting for Online Teaching and Webinars
Set up comfortable, flicker-free, low-glare lighting for multi-hour online teaching, webinars, and livestreams with steady color.
- Lighting for Talking-Head Videos
Light talking-head and interview videos cleanly with one, two, or three lights by controlling key angle, fill ratio, hair separation, and glare.
- Using a Ring Light for Video Calls
How to position a ring light for video calls, set Kelvin and brightness, avoid circular glasses glare, and know when a panel works better.
- Video Call Lighting: Look Better on Webcam
Improve your webcam image with front-facing key light, eye-level camera placement, and matched color temperature for Zoom, Teams, and Meet.
- Webcam Exposure and White Balance Settings
Fix dark, blown-out, or orange webcam video by locking manual exposure, shutter speed, ISO, and white balance to match your room lights.
- Window Light for Video and Calls
Position your desk and webcam to get flattering, consistent window light for video calls and recordings without backlight silhouettes or harsh glare.
- YouTube Lighting Setup on a Budget
Build a clean, consistent YouTube lighting setup on a budget using a single key light, window light, or an affordable bi-color LED.
Common questions
Why is a window behind me bad for video calls?
When a bright window sits behind you, your webcam or camera exposes for the bright background, leaving your face dark and silhouetted. Turning your desk so you face the window—or closing the blinds and placing a continuous LED in front of you—puts the brightest light on your face rather than behind your head.
Can I use a flash or strobe for YouTube videos?
No. Speedlights and studio strobes fire a brief burst for a single still frame and cannot illuminate continuous video. Video calls and YouTube recordings require continuous light—either natural window light or a continuous LED panel, ring light, or COB fixture.
Where should I put a single video light at a desk?
Place your main (key) light in front of you, raised slightly above eye level, and angled slightly to one side of the camera rather than dead-center. As taught in introductory video production courses, an off-axis key light adds gentle facial dimension while keeping shadows out of your eyes.
How do I stop my webcam from looking grainy or changing color mid-call?
Grain appears when a small webcam sensor has to boost gain in a dim room. Adding a larger, brighter continuous light close to your face lowers the sensor gain needed for a clean image. To prevent color shifts, turn off conflicting warm room lamps and lock white balance if your camera software allows it.
What color accuracy spec should I look for on a video LED?
Look for both CRI and TLCI ratings on the manufacturer's specification sheet. TLCI (Television Lighting Consistency Index, defined in EBU Tech 3355) specifically measures how a camera sensor reproduces colors under that fixture. For example, Aputure lists CRI ≥ 95 and TLCI ≥ 98 for the LS 600c Pro.
What we checked
- BMCC OpenLab (CUNY): Exterior and Interior Lighting Part 2 (Three Point Lighting), checked 2026-11-14 (openlab.bmcc.cuny.edu)
- HyperPhysics (Georgia State University): Inverse Square Law for Light, checked 2026-11-14 (hyperphysics.phy-astr.gsu.edu)
- EBU Tech 3355: Method for the Assessment of the Colorimetric Properties of Luminaires in Television (TLCI-2012), checked 2026-11-14 (tech.ebu.ch)
- Aputure Help Center: LS 600c Pro Photometrics & Technical Specifications, checked 2026-11-14 (help.aputure.com)
- Canon EOS R6 Product Manual: White Balance, checked 2026-11-14 (cam.start.canon)
You might also like
- Video Call Lighting: Look Better on Webcam
Improve your webcam image with front-facing key light, eye-level camera placement, and matched color temperature for Zoom, Teams, and Meet.
- YouTube Lighting Setup on a Budget
Build a clean, consistent YouTube lighting setup on a budget using a single key light, window light, or an affordable bi-color LED.
- Window Light for Video and Calls
Position your desk and webcam to get flattering, consistent window light for video calls and recordings without backlight silhouettes or harsh glare.
- Three-Point Lighting Explained for Beginners
Learn three-point lighting—key light, fill light, and backlight—plus how source size controls shadow softness and how distance and stops control exposure.
- Color Temperature and White Balance Explained
Learn Kelvin color temperature, camera white balance presets, green/magenta tint, CRI vs TLCI, and how to prevent mixed-lighting color casts.
- Green Screen Lighting: Even Backdrop, Clean Key
Light a green screen evenly and separate your subject from the backdrop to eliminate shadows, hotspots, and green spill for clean chroma keying.