Key-to-Fill Ratio Explained
Author: Fiat Lux Guides Editorial Team Reviewer: Fiat Lux Guides Editorial Team Most recently reviewed First published Filed under Setups and Exposure
A key-to-fill ratio compares the brightness of the lit side of a subject to the shadow side, expressed in f-stops of light difference. Because each full stop doubles or halves light intensity, a 1-stop difference creates a 2:1 ratio, 2 stops creates a 4:1 ratio, and 3 stops creates an 8:1 ratio.
Belongs to the guide: Three-Point Lighting Explained for Beginners
Checked by Fiat Lux Guides’ editorial desk against the cited sources.
In three-point lighting, contrast is controlled not by how bright your lights are overall, but by the balance between your main light (key) and your shadow-side light (fill). Understanding key-to-fill ratios lets you repeat the exact same mood—whether flat, gently modeled, or dramatic—across different rooms and shoots.
What a key-to-fill ratio measures
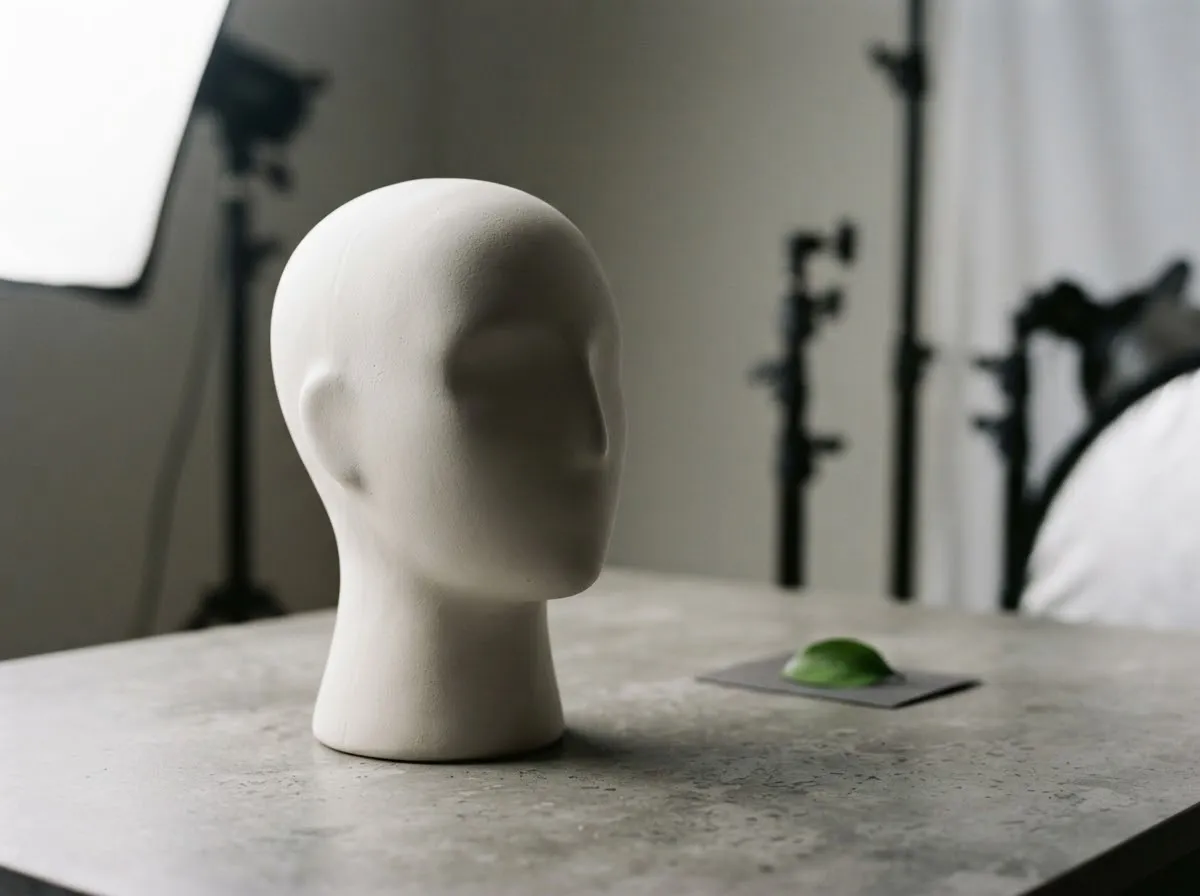
A key-to-fill ratio expresses how many times brighter the highlight side of your subject is compared to the shadow side. Because camera exposure operates in stops—where each full stop doubles or halves the amount of light, as explained in Fujifilm’s guide to stops—ratios map directly to f-stop differences between the two sides of the subject.
Common lighting ratios and stop differences
As outlined in Datacolor’s lighting ratio guide, each additional stop of separation between the key reading and the fill reading doubles the contrast ratio.
| Ratio | Stop difference | Visual effect on subject | Typical use |
|---|---|---|---|
| 1:1 | 0 stops | Flat, even illumination with minimal shadow | High-key beauty, flat product shots |
| 2:1 | 1 stop | Gentle modeling with open shadow detail | Video calls, corporate headshots, natural portraits |
| 4:1 | 2 stops | Clear highlight-to-shadow separation and depth | Classic portraits, narrative interviews |
| 8:1 | 3 stops | Deep, dramatic shadows with high contrast | Moody portraits, dramatic video |
Note that if both lights overlap on the highlight side of the face (for example, a centered fill light illuminating both the shadow side and the key side equally), the combined brightness on the key side equals Key + Fill, which slightly shifts the true ratio ((Key + Fill) : Fill). Measuring the key and fill separately gives a fast, repeatable baseline, while measuring both sides of the face with both lights active shows the exact contrast the sensor records.
How to measure a key-to-fill ratio
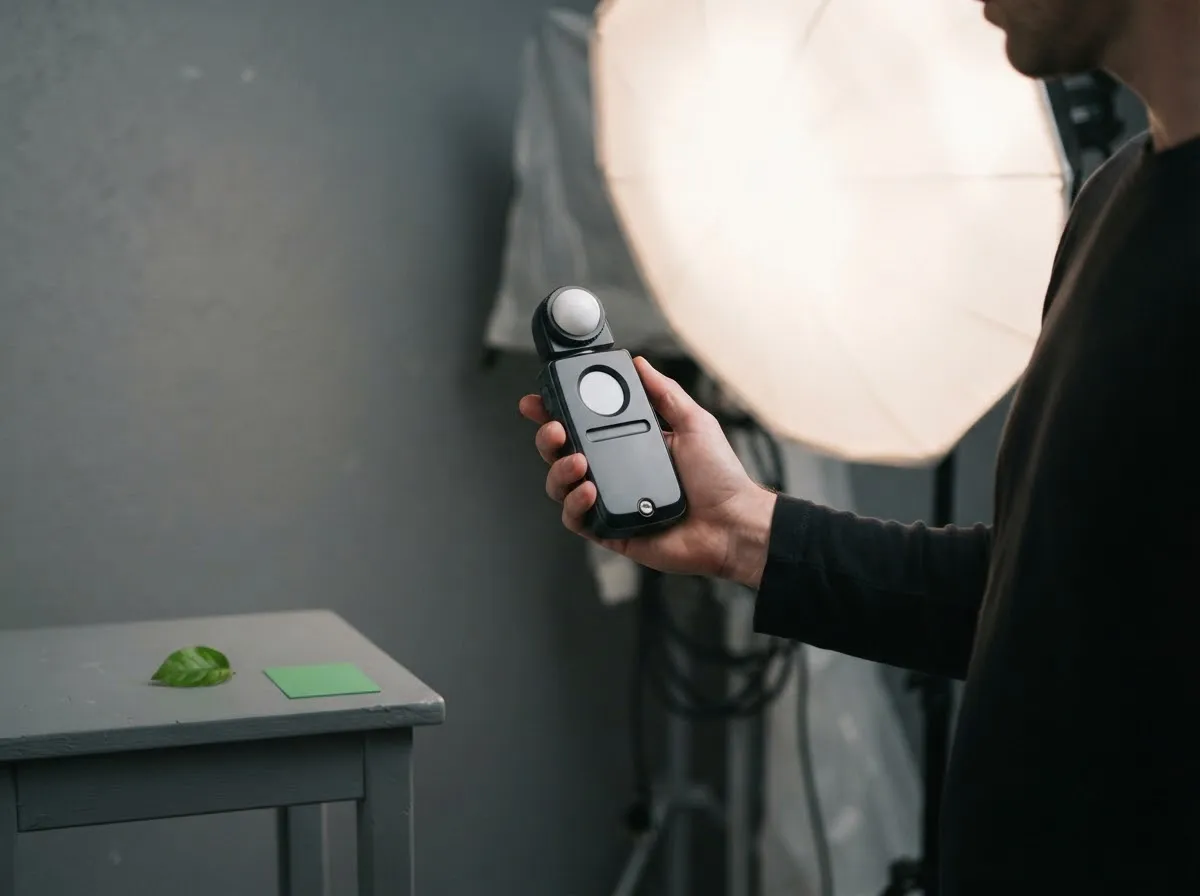
You can measure lighting ratios accurately with a handheld incident light meter, or estimate them visually using a camera’s histogram and exposure tools.
- Meter the key light alone: Turn off the fill light, place the incident meter at the subject’s position pointing toward the key light, and take a reading (for example, f/8).
- Meter the fill light alone: Turn off the key light, turn on the fill light (or position your bounce reflector with the key light on, shielding the meter from direct key light), and take a second reading from the shadow side.
- Compare the stops: If the fill reads f/5.6 against an f/8 key, the difference is 1 stop (a 2:1 ratio). If the fill reads f/4 against f/8, the difference is 2 stops (a 4:1 ratio).
Three ways to adjust your key-to-fill ratio
Once you know your starting ratio, you can brighten or darken the shadow side without rebuilding your entire setup.
- Change light power: Lowering a dimmer or flash power setting by 1 stop (halving the output) doubles the contrast ratio; raising fill power by 1 stop cuts the ratio in half.
- Move the fill light: Under the inverse square law, moving a light closer or further changes its intensity in predictable stops. Use our light distance exposure calculator to calculate exact distance adjustments when your light has no dimmer.
- Use reflectors or negative fill: A white foam board placed on the shadow side bounces key light back into the shadows to lower the ratio. Conversely, a black card placed close to the shadow side absorbs ambient room bounce (negative fill), deepening shadows and raising the ratio.
Matching key-to-fill ratio to your scene
Choosing a ratio depends on how much shadow detail your camera and delivery format can hold. Lower ratios (around 2:1) keep shadow areas open, so you need less extra light or higher ISO to hold shadow detail. Dramatic stills or controlled studio video can push to 4:1 or 8:1 when you want strong dimension.
Remember that ratio controls contrast, while modifier size and distance control shadow edge softness—explore both with our hard light vs. soft light guide and softbox softness calculator. Our sourcing and verification rules are detailed in our sourcing and review approach.
Common questions
What is the difference between a 2:1 and a 4:1 lighting ratio?
A 2:1 ratio means the key side receives twice as much light as the shadow side (a 1-stop difference), producing soft, low-contrast modeling. A 4:1 ratio means the key side is four times as bright as the shadow side (a 2-stop difference), creating noticeably deeper shadows and stronger dimension.
How do I change the key-to-fill ratio without a second light?
You can control the fill side using a white foam board or reflector bounced from the key light, or a black card (negative fill) to absorb ambient bounce. Moving a white reflector closer to the shadow side raises fill brightness and lowers the ratio; moving it away or adding negative fill increases contrast.
Does a 2:1 ratio mean the key light is 1 stop brighter than the fill light?
In studio practice, photographers commonly measure the key and fill lights separately and call a 1-stop difference a 2:1 ratio. Strictly speaking, when the key light also spills onto the fill side—or when both overlap on the highlight side—the combined light on the subject determines the true shadow-to-highlight ratio.
How do I adjust a lighting ratio using distance?
By the inverse square law, moving a fill light closer or further from the subject changes its intensity by predictable stops without touching a dimmer. Moving a light to 0.7 times its distance adds 1 stop (halving the ratio), while moving it to 1.4 times its distance subtracts 1 stop.
What lighting ratio is best for video calls and portraits?
Lower ratios such as 2:1 (1 stop) or 3:1 work well for video calls, corporate headshots, and approachable portraits because shadows stay open and detail remains visible in compressed video. Higher ratios such as 4:1 or 8:1 suit dramatic portraits or narrative video where deep shadows add mood.
What we checked
- Datacolor Spyder Support: Lighting Ratios for Photo and Video, checked 2026-11-14 (spyder-support.datacolor.com)
- Fujifilm X: What Is a Stop of Light in Photography, checked 2026-11-14 (shopusa.fujifilm-x.com)
- Nikon USA: ISO Control, checked 2026-11-14 (nikonusa.com)
You might also like
- Three-Point Lighting Explained for Beginners
Learn three-point lighting—key light, fill light, and backlight—plus how source size controls shadow softness and how distance and stops control exposure.
- Common Lighting Mistakes in Photo and Video
Spot and fix the most common photo and video lighting mistakes: mixed color casts, flat on-axis light, harsh overhead shadows, and distance falloff.
- Exposure Basics for Lighting: Stops, ISO, Aperture, Power
Understand how stops of light connect aperture, shutter speed, ISO, and flash or LED power so you can adjust lighting exposure accurately.
- Hard Light vs Soft Light: What Changes the Shadows
Compare hard light vs soft light in photography and video: how source size, distance, and penumbra geometry control shadow edge softness.
- Headshot Lighting at Home
Set up clean headshot lighting at home with a window or a single LED or strobe, covering light angle, background separation, and shadow fill.
- The Inverse Square Law of Light for Photographers
Learn how the inverse square law controls light falloff, exposure stops, and background separation in photography and video.