Food Photography with Window Light
Author: Fiat Lux Guides Editorial Team Reviewer: Fiat Lux Guides Editorial Team Most recently reviewed First published Filed under Natural Light
Food photography with window light works best when you place the dish beside or in front of a single diffused window rather than shooting with light behind the camera. Side lighting reveals surface texture on baked goods and herbs, while backlighting makes liquids, sauces, and steam glow when paired with a front bounce card.
Belongs to the guide: Natural Light Photography: A Beginner Guide
Food photography with window light relies on directional available-daylight techniques to bring out texture, moisture, and shape. As Nikon USA’s home food photography guide notes, food is almost always shot with light coming from the side or the back—never straight on from behind the camera, which flattens shadows and makes dishes look lifeless.
Side light vs. backlight for food
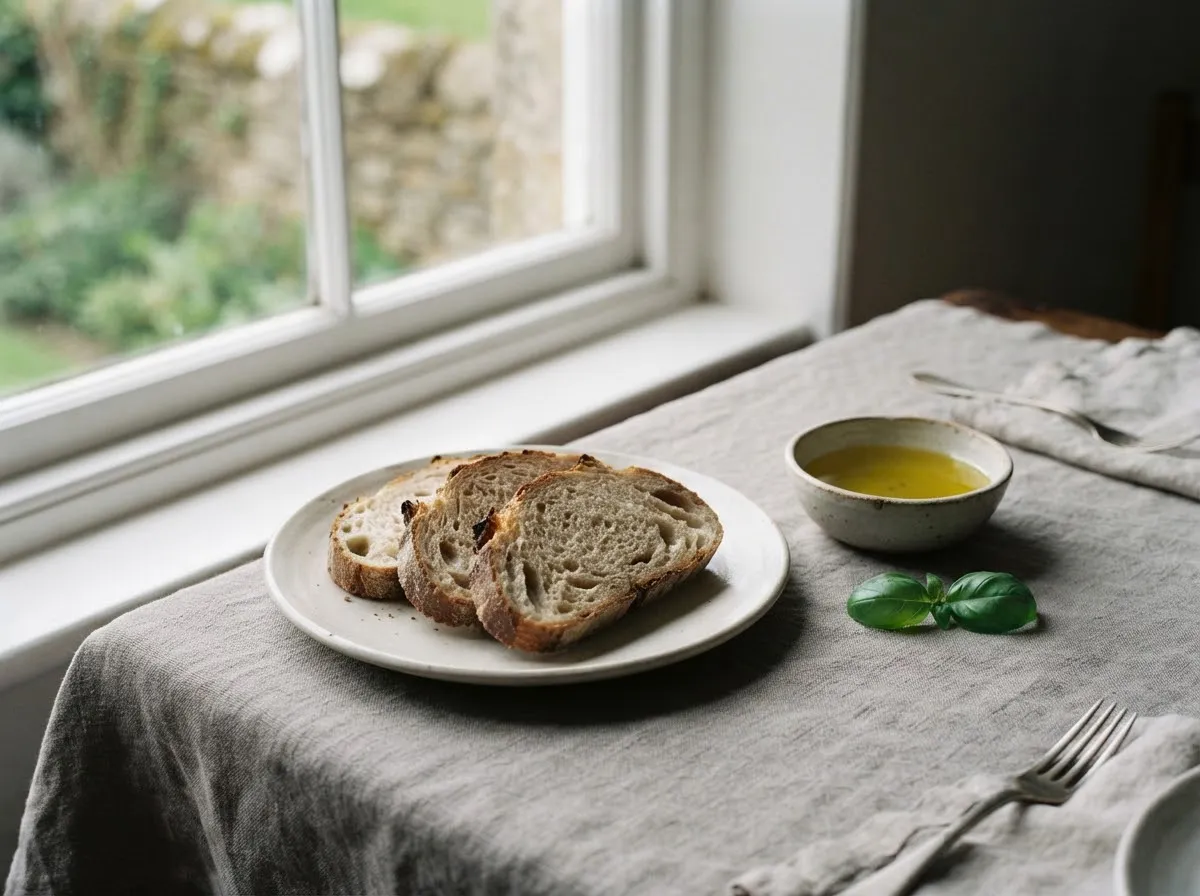
Choosing between side light and backlight depends on what you are plating and which surface qualities you want to emphasize:
- Side light (window at 90 degrees): Place the table next to the window so light rakes across the dish from left or right. Side light excels on textured foods—crusty bread, flaky pastries, roasted vegetables, and layered plates—because every crumb and ridge casts a small shadow.
- Backlight (window behind the dish): Position the table in front of the window and shoot back toward the light. Backlight creates bright specular highlights on sauces, glazes, and drinks, and it illuminates translucent ingredients like citrus slices, broth, and rising steam. Because the front of the dish faces away from the window, always place a white bounce card near the camera to reflect light back onto the front of the food.
For more on shaping backlit natural scenes, see our guide to backlight and rim light with a window.
Setting up a window food station step by step
- Turn off all overhead and room lights: Kitchen pendants and recessed bulbs introduce warm orange casts and extra shadows that fight the window’s direction.
- Test the light with a simple object: Nikon’s guide suggests walking around your home with a plain egg to see how shadows fall at different windows and times of day before plating food.
- Diffuse harsh sun if needed: If direct sunbeams hit your table, tape sheer white fabric, baking parchment, or a translucent scrim across the windowpane. This converts a small, hard sunbeam into a broad, soft source.
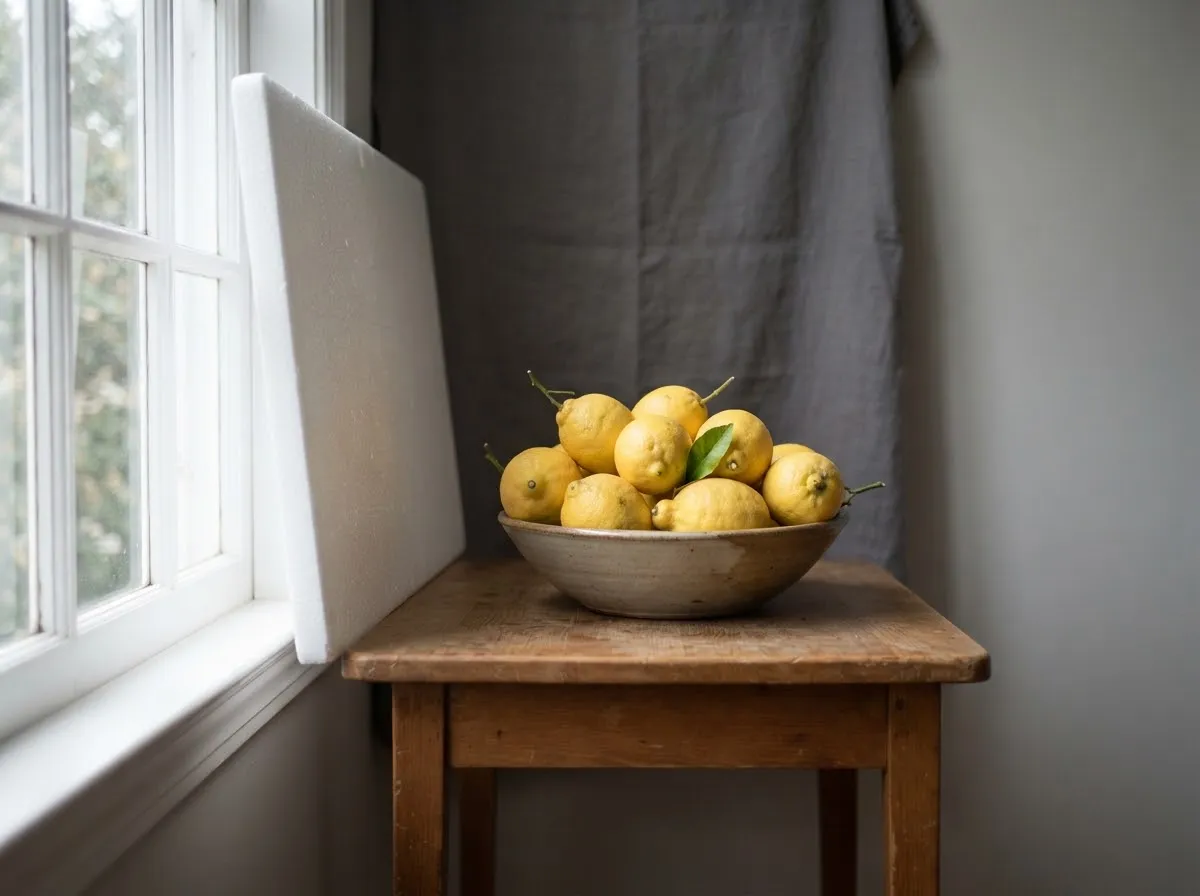
- Control the shadow side with reflectors or flags: Prop a white foam board opposite the window to lift shadows, or use a black card to deepen contrast for moody scenes. See reflectors and diffusers for natural light for placement details.
- Move closer for softer wrap: Placing the table right next to the window increases the window’s apparent angular size relative to the plate, softening shadow edges. You can model how source size and distance change shadow edge width with our softbox softness calculator.
Managing color temperature and changing daylight
Daylight shifts in both brightness and Kelvin temperature as clouds pass and the sun moves. Keep these habits in mind:
- Shoot in RAW if possible: RAW files give you full latitude to fine-tune white balance afterward without degrading color.
- Lock a custom or Daylight white balance: Leaving Auto White Balance on can cause warm sauces or green salads to shift color from frame to frame. Check our Kelvin values by light source to match presets to open shade or overcast skies.
- Use a tripod for low-light windows: On overcast days or in indoor daylight techniques, shutter speeds can drop low. A tripod lets you keep ISO low and stop down slightly for sharper depth of field across the plate without motion blur.
For similar window-control techniques applied to people, compare our window light portrait setup guide, and review our editorial policy for how we verify our references.
Common questions
What is the best window direction for food photography?
Side lighting (window at 90 degrees to the camera) and backlighting (window behind the food facing the camera) are the two strongest positions. Both create bright highlights on one side of ingredients and soft shadows on the other, revealing texture, moisture, and depth that flat front lighting erases.
Should I shoot food in direct sunlight through a window?
Only if you specifically want crisp, hard shadows. For most everyday food shots, direct sun creates blown-out highlights and harsh dark shadows. Hanging a sheer white curtain, scrim, or tracing paper across the window diffuses direct sunlight into a large, soft light source.
Why do my food photos look yellow or orange near a window?
Indoor bulbs are often warmer than window daylight, and the two sources mix at different color temperatures. Leaving indoor lights on creates mixed color casts on plates and napkins. Switch off all room lights so only the window illuminates the table.
How do I brighten the dark side of a dish without a second light?
Place a white foam board, white poster paper, or silver reflector on the side of the plate opposite the window. Angled slightly toward the food, it bounces window light back into the shadows to reveal detail in dark crusts, bowls, or garnishes.
When do I use a black card instead of a white bounce card?
Use a black foam board or matte black card (negative fill) on the shadow side when a scene looks too flat, when white walls bounce too much ambient light, or when you want deeper, moodier contrast around dark plates, coffee, or rustic wood surfaces.
What we checked
You might also like
- Natural Light Photography: A Beginner Guide
Learn natural light photography: how sun angle, window size, open shade, and overcast skies shape shadow softness, color temperature, and exposure.
- Backlight and Rim Light with a Window
How to shoot backlit window portraits and rim light using metering, exposure lock, flare control, and reflector fill without blowing out skin tones.
- Golden Hour Photography Explained
Learn what causes golden hour light, when it occurs by solar elevation, how long it lasts, and which white balance and camera settings preserve warm tones.
- Indoor Natural Light Photography Without Flash
How to shoot indoor natural light photography without flash using window placement, camera exposure settings, white balance, and falloff control.
- Natural Light vs Artificial Light: When to Use Each
Natural light vs artificial light compared on cost, color stability, power, and control so you can decide when window light or studio gear fits best.
- Open Shade and Overcast Light for Photos
How to find open shade, use overcast clouds as a giant softbox, fix blue color casts with white balance, and keep catchlights in outdoor portraits.