Headshot Lighting at Home
Author: Fiat Lux Guides Editorial Team Reviewer: Fiat Lux Guides Editorial Team Most recently reviewed First published Filed under Setups and Exposure
A clean headshot lighting setup at home needs only one large, soft key light placed slightly above eye level and a bounce surface to lift chin and cheek shadows. Whether you use a north-facing window or a single diffused LED or strobe, keeping the subject several feet ahead of the background prevents harsh wall shadows.
Belongs to the guide: Three-Point Lighting Explained for Beginners
A reliable headshot lighting setup at home starts with the same principles as three-point lighting, stripped down to what fits in a living room or spare bedroom. You need one large, soft key light positioned slightly above eye level, a passive bounce surface to keep shadows open, and enough space between your subject and the wall behind them so shadows do not land on the backdrop.
Choosing your key light: window vs. softbox
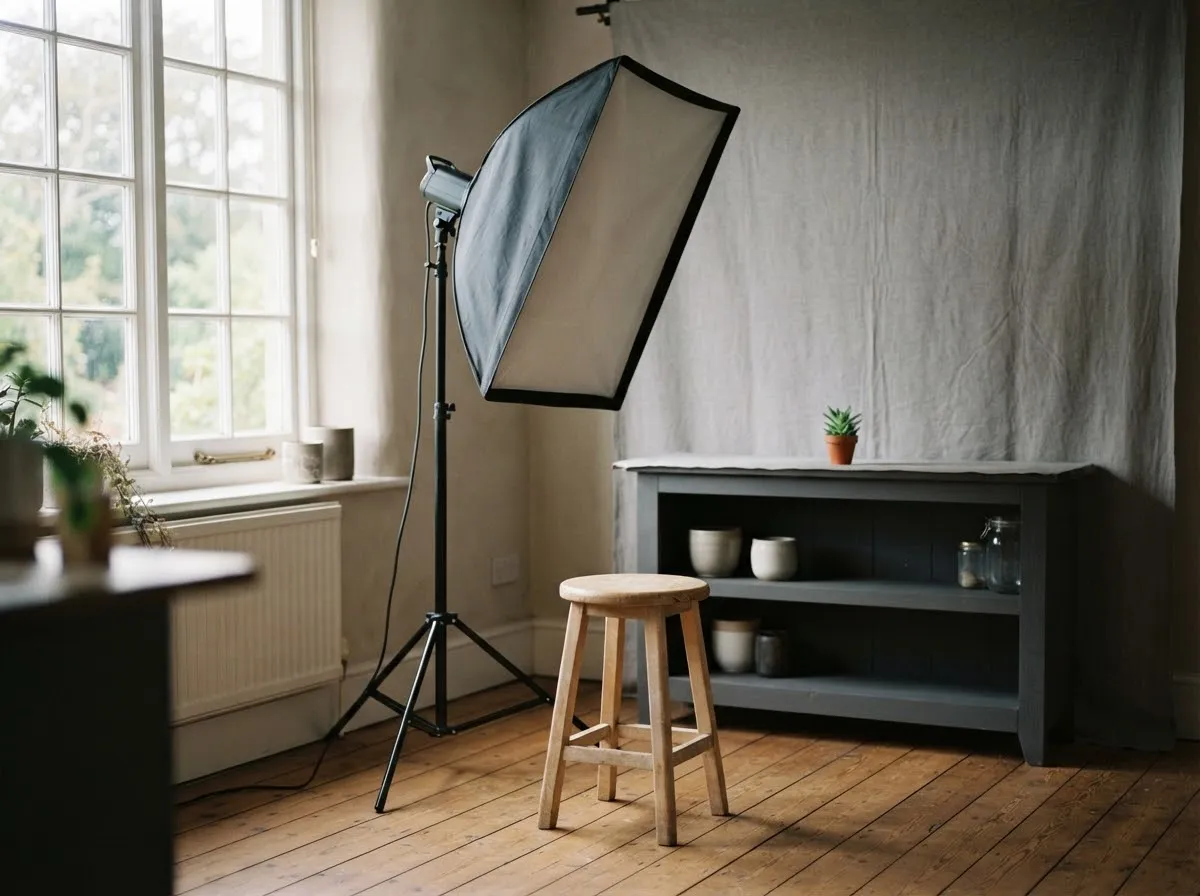
In a home space, you have two practical options for a flattering key light:
- Indirect window light: Position the subject near a large window that does not have direct sunbeams hitting the glass. If direct sun is coming through, hang a sheer white curtain or frosted shower liner to turn the window into a soft diffuser. Turn off overhead room fixtures so warm ceiling bulbs do not mix with cool daylight. For more on window positioning, see our window light portrait setup guide.
- One continuous LED or strobe with a modifier: A single monolight or high-output LED behind a medium softbox or shoot-through umbrella gives you consistent brightness and color temperature at any hour. As Profoto’s one-light portrait guide demonstrates, one light with different modifiers can produce five different portrait setups, using a black reflector to stop light bouncing off white walls.
Use our softbox softness calculator to see how modifier width and distance affect shadow-edge softness in a tight room.
Step-by-step home headshot setup
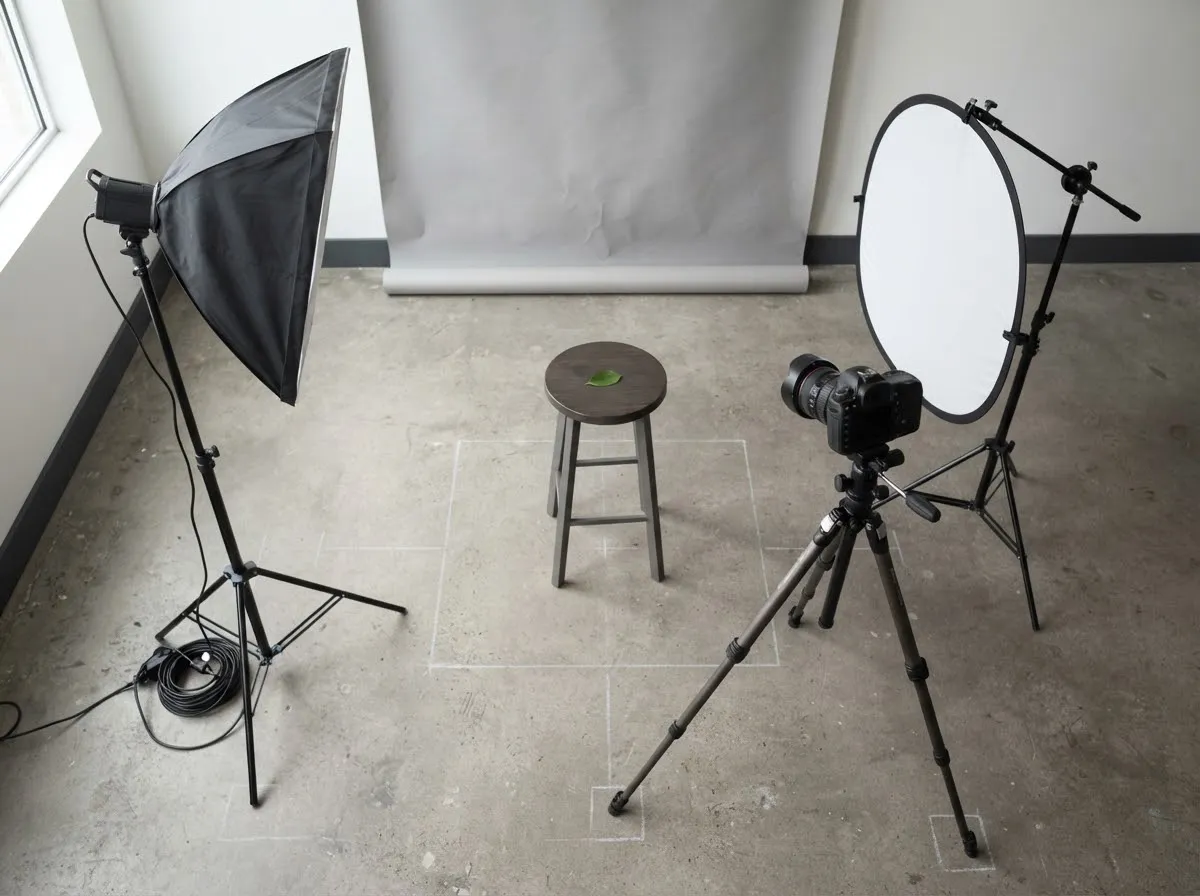
- Clear the background and set subject distance: Place your subject at least several feet in front of a plain, uncluttered wall. Moving the subject forward keeps cast shadows off the wall and lets the background fall slightly out of focus.
- Position the key light: Place your window or softbox slightly above the subject’s eye line and either centered (butterfly) or angled about 45 degrees to one side (loop). Check that both eyes show a clean catchlight; per Profoto’s butterfly lighting guide, raising the light too high removes the catchlight and drops the nose shadow onto the upper lip.
- Add passive fill: Hold or prop a white foam-core board, white sheet, or collapsible reflector on the shadow side (or just below chest level for centered lighting) to bounce light back under the chin and eyes. White room walls also act as natural fill reflectors.
- Check your exposure and falloff: Bring the key light as close as comfortably possible just outside the frame for softer shadows, and use our light distance exposure calculator if you need to adjust power or aperture after moving the stand.
- Lock white balance: Set a manual Kelvin or daylight/flash white balance preset rather than Auto so skin tones stay identical across frames.
Picking the right pattern for the subject
Different professions and personal preferences suit different shadow levels, which you can explore in detail in our portrait lighting patterns guide:
- Butterfly or soft loop: Ideal for corporate, LinkedIn, and actor headshots where open eyes, even skin illumination, and approachable contrast are the priority.
- Loop with modest fill: Adds gentle three-dimensionality to the jawline and cheeks without looking overly dramatic.
- Rembrandt: Best reserved for creative or editorial headshots where a stronger shadow side and a lit cheek triangle fit the mood.
If you want to dial in exact contrast between the lit side and shadow side of the face, read our key-to-fill ratio guide.
Solving common home-space problems
- Small-room light bounce: In a narrow hallway or small white room, light bounces off every wall and can flatten your shadows. Hang a dark sheet or black foam board on the shadow side to absorb stray bounce when you want deeper modeling.
- Mixed color casts: Always switch off household lamps and ceiling lights before shooting; mixing warm indoor bulbs with cooler daylight creates uneven orange and blue patches on skin.
- Eyeglass glare: Move the key light slightly higher and further to the side so the reflection angle misses the lens.
- Safety note: When using mains-powered strobes or LEDs, follow the maker’s manual for stand weights, power cords, and ventilation, and consult a licensed electrician for any building wiring questions.
For more on how we source and verify our guides, see our sourcing rules.
Common questions
What is the easiest headshot lighting setup at home with one light?
Place a single diffused light—either a bright window or an LED or strobe inside a medium softbox—slightly above eye level and about 45 degrees off the camera axis. Put a white foam board or reflector on the opposite side to bounce light back into the shadows, and keep the subject at least a few feet away from the background wall.
How far should the subject stand from the wall for a home headshot?
Give the subject as much room as your space allows—as far from the background wall as the room allows. Moving the subject away from the wall softens or removes distracting cast shadows behind the head and lets the background fall slightly darker or cleaner without needing a separate background light.
Should I use natural window light or an artificial light for headshots?
Use window light if you want zero gear cost and have steady, indirect daylight, such as an overcast sky or a sheer curtain diffusing direct sun. Choose a continuous LED panel or strobe with a softbox if you need repeatable exposure and consistent color temperature regardless of time of day or weather.
How do I avoid glare on eyeglasses in a home headshot?
Raise the key light slightly higher and angle it further to the side so the reflection of the light source bounces downward and away from the camera lens. You can also ask the subject to tilt the frames down by a tiny amount if the glare persists.
Do I need a three-point lighting kit for a professional-looking headshot?
No. One well-placed soft key light and a passive white reflector produce clean, dimensional headshots in small rooms. A second light is helpful mainly when you want a dedicated hair rim light, extra cheek separation, or a brighter, evenly lit backdrop behind the subject.
What we checked
You might also like
- Three-Point Lighting Explained for Beginners
Learn three-point lighting—key light, fill light, and backlight—plus how source size controls shadow softness and how distance and stops control exposure.
- Common Lighting Mistakes in Photo and Video
Spot and fix the most common photo and video lighting mistakes: mixed color casts, flat on-axis light, harsh overhead shadows, and distance falloff.
- Exposure Basics for Lighting: Stops, ISO, Aperture, Power
Understand how stops of light connect aperture, shutter speed, ISO, and flash or LED power so you can adjust lighting exposure accurately.
- Hard Light vs Soft Light: What Changes the Shadows
Compare hard light vs soft light in photography and video: how source size, distance, and penumbra geometry control shadow edge softness.
- The Inverse Square Law of Light for Photographers
Learn how the inverse square law controls light falloff, exposure stops, and background separation in photography and video.
- Key-to-Fill Ratio Explained
Learn what key-to-fill lighting ratios mean in f-stops, how 2:1, 4:1, and 8:1 contrast looks on camera, and how to measure ratios with a light meter.