Lighting for Online Teaching and Webinars
Author: Fiat Lux Guides Editorial Team Reviewer: Fiat Lux Guides Editorial Team Most recently reviewed First published Filed under Video Lighting
Light online classes and webinars using a diffused, AC-powered LED key light placed slightly above eye level and off-axis so you can teach for hours without squinting or running down batteries. Close blinds on shifting windows, lock your camera's exposure and white balance, and keep background lights subtle so slides and screen shares remain easy to read.
Belongs to the guide: Video Lighting Setup for Calls and YouTube
Teaching online or hosting a multi-hour webinar puts different demands on lighting than filming a five-minute clip. As part of our video lighting setup pillar, this guide focuses on comfort, consistency across changing daylight, and clean framing when you are reading notes or sharing slides.
Prioritize AC power and quiet cooling
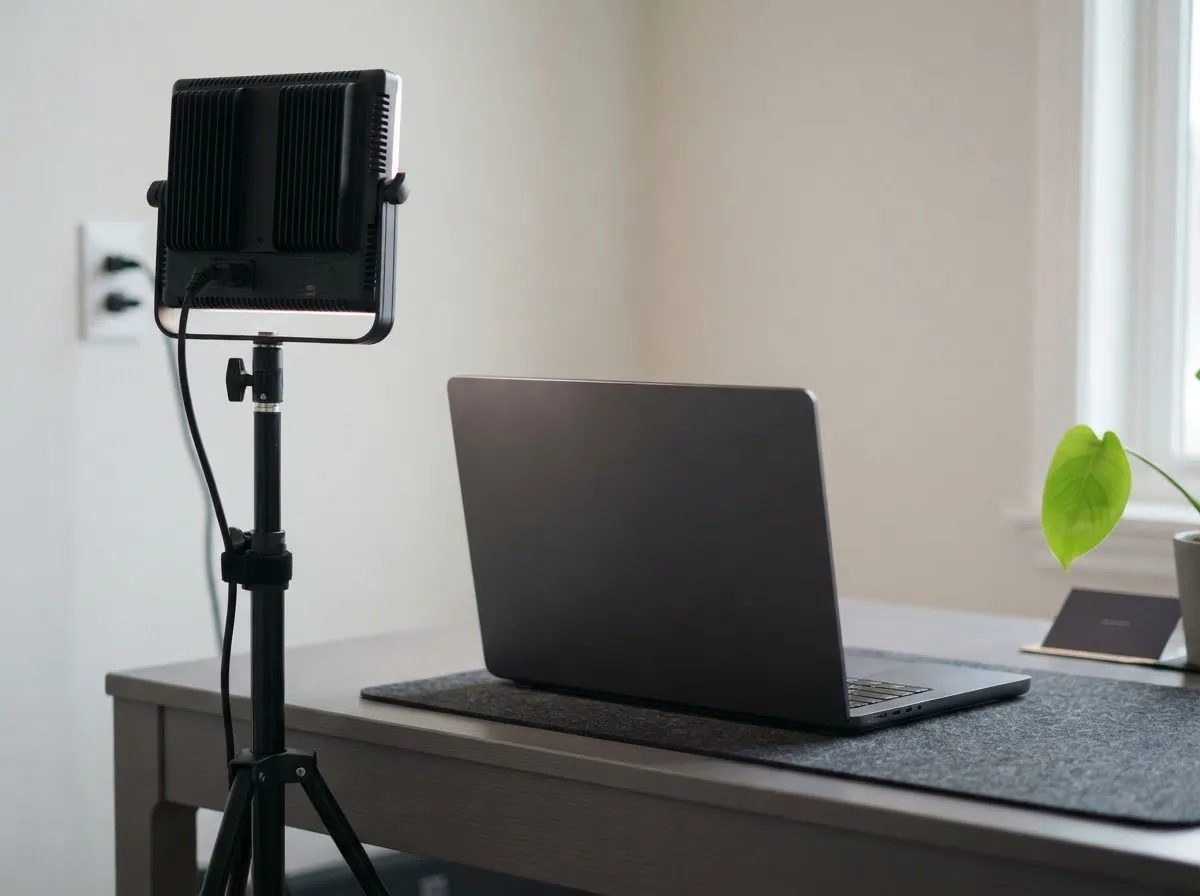
During a 60- to 120-minute class or livestream, you cannot pause to swap batteries.
- Use wall power (AC): Plug your key light into a wall outlet rather than relying on internal or NP-F batteries so brightness never drops mid-session. See battery vs. mains-powered lights for power-supply tradeoffs.
- Check fan noise: If your microphone sits close to your desk, choose a fanless LED panel or a quiet COB light run at low dimmer output so cooling fans do not bleed into your audio.
- Route cables safely: Keep power bricks and cords tucked behind the desk where feet cannot snag them, and never cover fixture vents.
Position lights for comfort and slide-reading
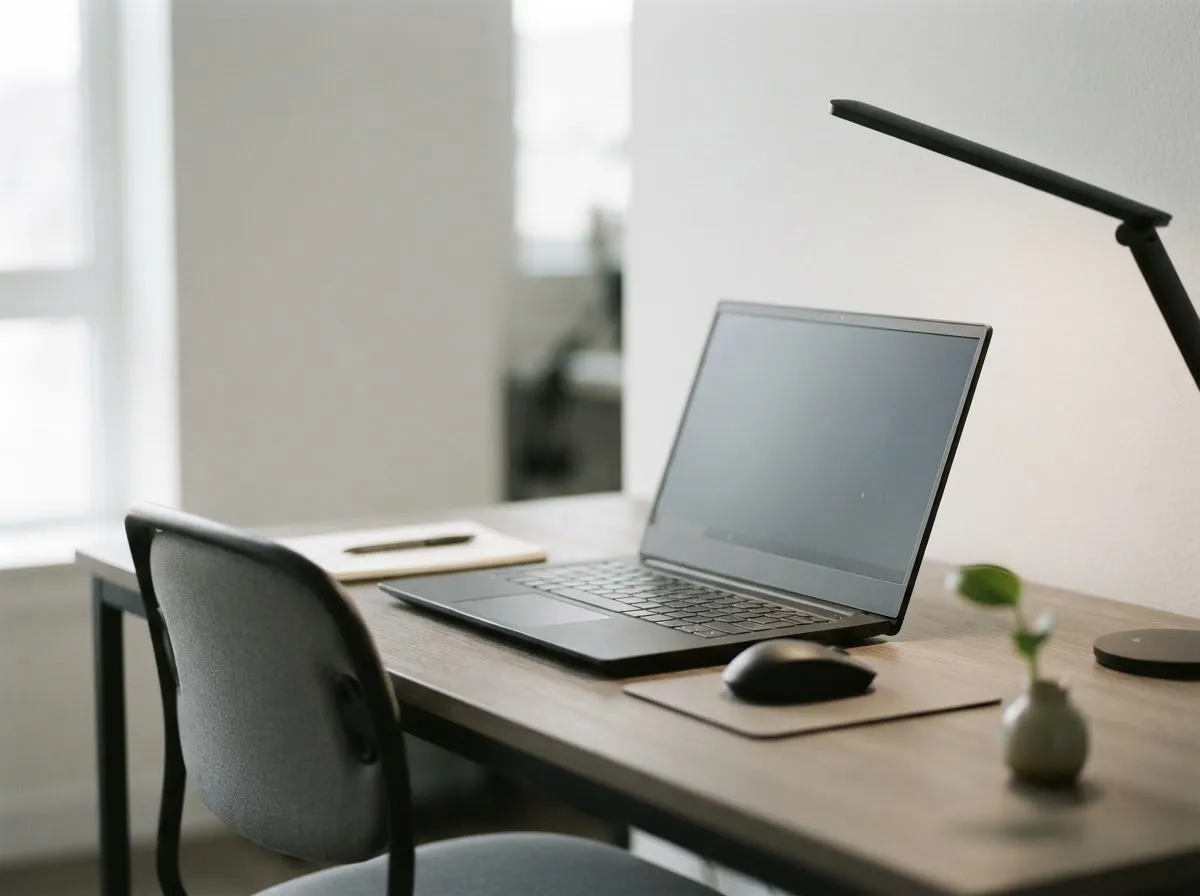
Staring directly into a bare LED or a centered ring light for two hours causes squinting and distracting catchlights.
- Place the key light off-axis: Position a diffused panel or small softbox slightly above eye level and 30 to 45 degrees to one side of your monitor. You see your screen clearly without looking straight into the emitter.
- Watch monitor spill: Bright white slides turn your monitor into a blue fill light on your face. Lower your display brightness to a comfortable level so your key light stays dominant.
- Prevent glasses glare: If you read notes on screen while wearing glasses, follow our lighting for glasses and reflections angles to keep reflections out of the lens.
Keep lighting consistent across different class times
If you teach morning, afternoon, and evening sessions, daylight from a window will change dramatically between classes.
- Close blinds for repeatability: Using a fixed LED setup with blinds drawn gives you identical exposure and color temperature at 9 a.m. and 7 p.m.
- Or control the window: If you prefer natural light for short morning sessions, review window light for video and calls and draw a sheer curtain to tame direct sun.
- Lock camera settings: Turn off auto-exposure and auto white balance using our webcam exposure and white balance settings guide so your feed does not flicker or shift warm-to-cool whenever you move.
For tighter desk layouts, pair these steps with lighting a small home office for video or expand to a dedicated creator desk with YouTube lighting setup on a budget.
Checked by Fiat Lux Guides’ editorial desk against the cited sources. Read our editorial policy for how we verify specifications.
Common questions
How can I light long webinars so bright LEDs feel softer and less glaring?
Use a larger diffused light source—such as a softbox or an LED bounced off a white wall—and place it 30 to 45 degrees off to the side rather than dead-center above your webcam. Lowering brightness and relying on diffusion spreads the light over a wider area so there is no single blinding hotspot in your field of view.
Should I use window light or artificial LEDs for scheduled online classes?
Use a dedicated LED key light with blinds closed if your classes run at different times of day or last several hours. Natural window light shifts in brightness and color temperature as the sun moves or clouds pass, which forces your webcam to constantly re-expose mid-lecture.
Why does my screen brightness change the color on my face during webinars?
When you switch from a dark slide to a bright white slide, your computer monitor acts as a secondary light source and casts cool blue light onto your face. Lowering monitor brightness slightly and keeping your key light stronger than the monitor spill keeps your skin tone consistent.
Do I need a full three-point lighting kit for online teaching?
No. Most teachers and webinar hosts only need one diffused key light in front and a simple ambient lamp or practical light behind them for depth. A single well-placed key light keeps your desk uncluttered and leaves room for notes, tablets, and microphones.
How do I avoid glare on my glasses while reading lecture notes?
Raise your key light higher above eye level and angle it downward toward your chest, or shift it further to the side of your monitor. Increasing the angle between the light and the camera lens bounces reflections away from the webcam.
What we checked
- Aputure Help Center — LS 60x Powering from Batteries (checked 2026-11-14) (help.aputure.com)
- Aputure Help Center — amaran 60d S Safety Guidelines (checked 2026-11-14) (help.aputure.com)
- Canon EOS R6 Product Manual — White Balance (checked 2026-11-14) (cam.start.canon)
You might also like
- Video Lighting Setup for Calls and YouTube
Build a clean video lighting setup for calls and YouTube using window light or continuous LEDs, simple angles, distance control, and color matching.
- Green Screen Lighting: Even Backdrop, Clean Key
Light a green screen evenly and separate your subject from the backdrop to eliminate shadows, hotspots, and green spill for clean chroma keying.
- LED Flicker on Camera: Shutter Speed and Banding
Stop LED flicker and rolling-shutter banding in video and stills by matching shutter speed to 50 Hz or 60 Hz mains and using anti-flicker tools.
- Lighting a Small Home Office for Video
How to light a cramped home office or bedroom desk for sharp, flattering video calls and recordings without bulky stands or wall glare.
- Lighting for Talking-Head Videos
Light talking-head and interview videos cleanly with one, two, or three lights by controlling key angle, fill ratio, hair separation, and glare.
- Lighting for Glasses: Avoiding Glare on Camera
Stop glasses glare on camera using the law of reflection: raise and angle your lights, adjust screen brightness, and use anti-reflective lens coatings.