Webcam Exposure and White Balance Settings
Author: Fiat Lux Guides Editorial Team Reviewer: Fiat Lux Guides Editorial Team Most recently reviewed First published Filed under Video Lighting
Improve webcam video quality by turning off auto exposure and auto white balance once your lights are set, then locking shutter speed, ISO, and Kelvin color temperature. Keeping ISO low and adding physical light prevents grain, while manual white balance stops skin tones from shifting orange or blue when you move.
Belongs to the guide: Video Lighting Setup for Calls and YouTube
Checked by Fiat Lux Guides’ editorial desk against the cited sources.
Even a well-positioned lighting for calls and YouTube can look washed out, grainy, or strangely colored if your webcam’s automatic controls are fighting your lights. Locking manual exposure and white balance in your camera utility keeps brightness steady and skin tones natural across an entire call or recording.
Why webcam auto settings struggle with lighting
Automatic exposure and white balance constantly recalculate brightness and color from the whole frame, which causes distracting shifts whenever the scene changes. If a bright window sits behind you, auto exposure darkens your face to protect the background; if you hold up a white sheet of paper, auto white balance shifts your skin tone toward blue or orange.
Video-call apps rarely expose low-level camera settings directly, so adjustments are made in the manufacturer’s desktop utility—such as Logi Tune for Logitech cameras or Camera Hub for Elgato cameras—or through your operating system’s camera properties panel.
How to set manual webcam exposure
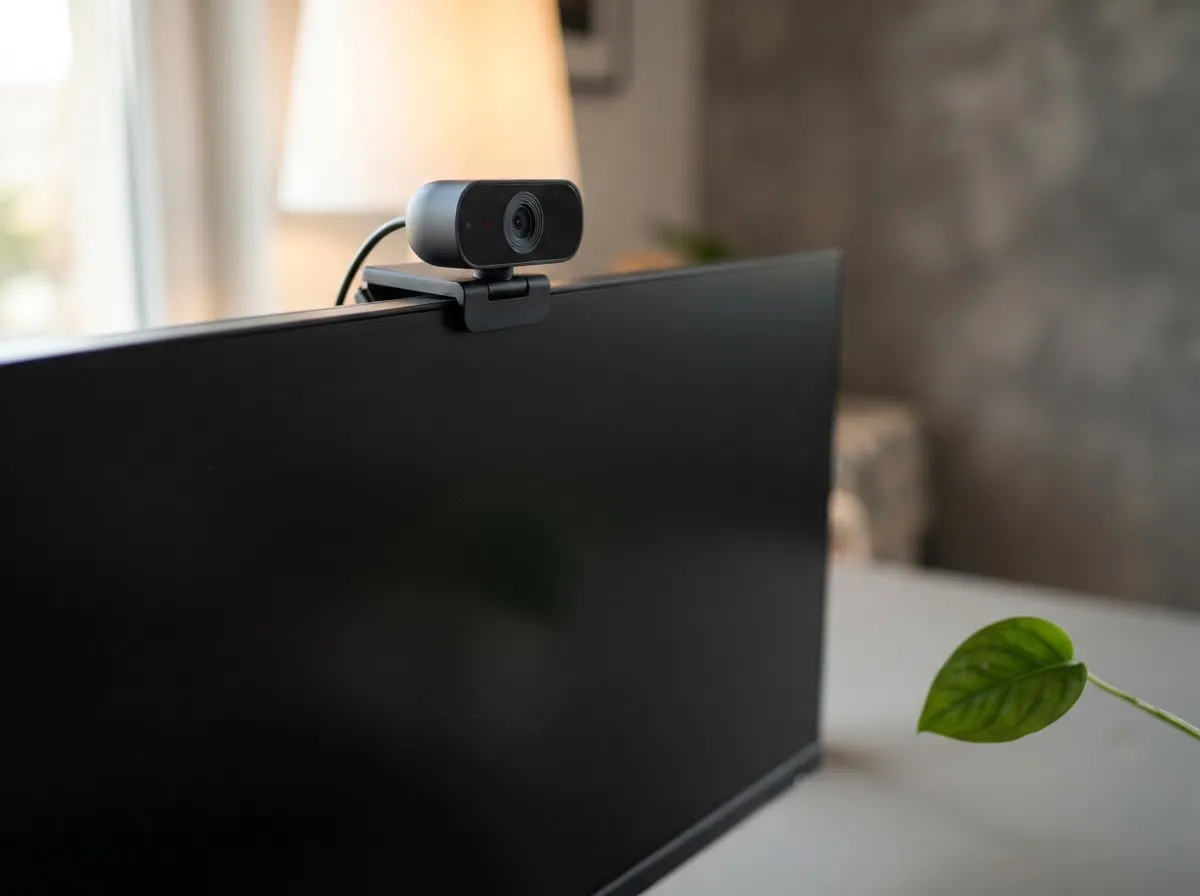
Turn off auto exposure once your lights are turned on, then balance shutter speed and ISO so your face is properly exposed without noise or motion blur.
- Set shutter speed first: Shutter speed controls how long the sensor collects light for each frame. Keep it fast enough to support your frame rate—for example, 1/64 s or faster for 60 fps video (per Elgato), or 1/30 s to 1/60 s for 30 fps video—and avoid letting automatic “low-light compensation” drop the shutter speed, which makes movement look choppy.
- Keep ISO as low as your light allows: As explained in Nikon’s ISO guide, raising ISO amplifies the sensor signal in dim conditions at the cost of electronic noise and grain. Keeping ISO low (Elgato advises not going above 1000 on its Facecam) preserves clean skin texture and sharp edges.
- Add light before raising gain: Because webcam sensors are much smaller than mirrorless camera sensors, high ISO or digital gain quickly degrades video compression. If the preview looks dark at your target shutter speed and low ISO, move your key light closer or increase its dimmer setting rather than pushing ISO higher.
If you are using a mirrorless camera as a webcam, Sony’s exposure guide notes that manual exposure with Auto ISO lets you use exposure compensation, whereas fully manual ISO locks brightness completely. For more on how these controls interact, see shutter speed, aperture, ISO and light.
When to use auto exposure vs. manual exposure
Manual exposure works best with controlled artificial lighting, while auto exposure is more forgiving when natural light changes rapidly.
- Use manual exposure when you shoot with an LED panel, ring light, or desk lamp in a room with drawn curtains, because your light level stays constant from start to finish.
- Use auto exposure with exposure compensation if you rely on window light for video and calls on a partly cloudy day, so passing clouds do not leave your video severely underexposed. Center-weighted metering prioritizes your face over a bright or dark background.
How to set webcam white balance
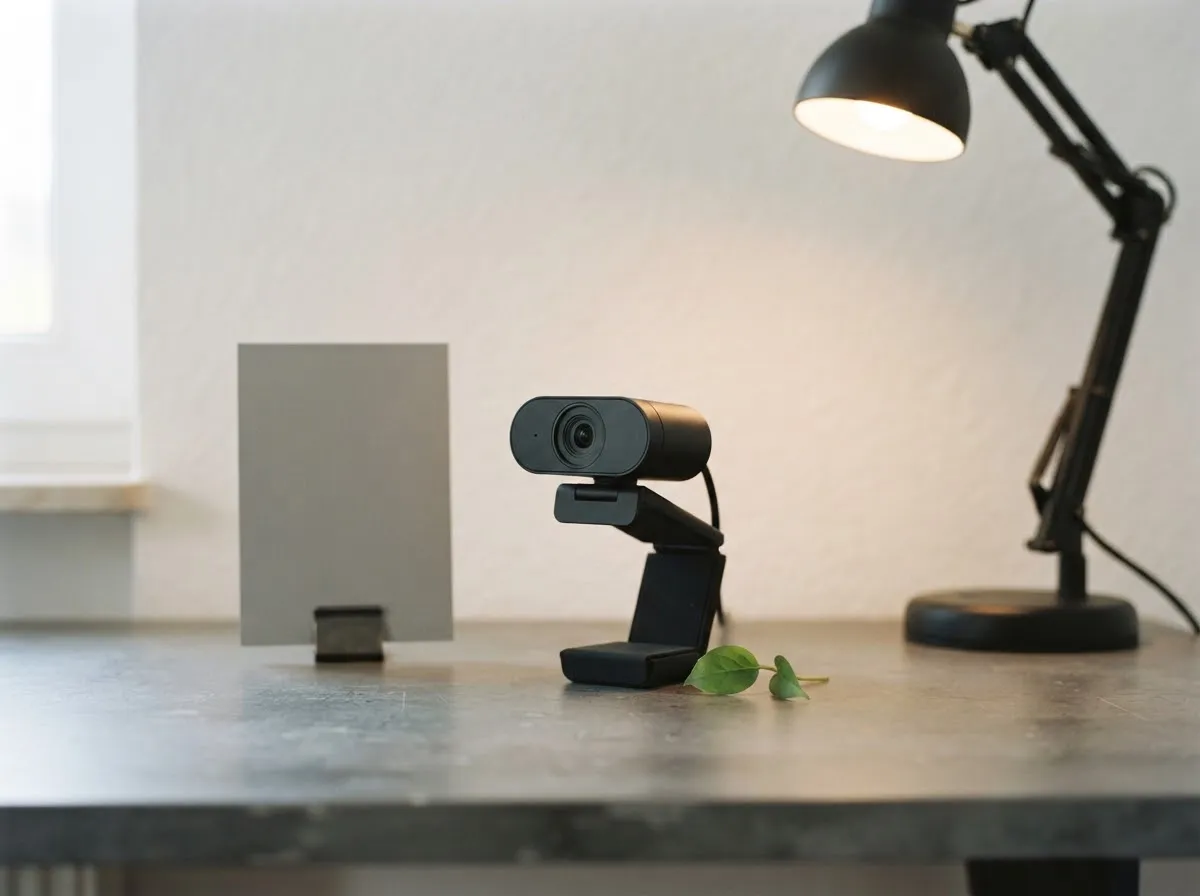
Disable auto white balance and dial in a fixed Kelvin temperature that matches your primary light source. When auto white balance stays on, moving closer to a colorful shirt or changing what is on your monitor can make your skin tones drift green, magenta, or yellow mid-call.
- Match your key light’s Kelvin rating: Set the webcam’s white balance slider to the same color temperature as your main light (for example, 5600 K for daylight-balanced LEDs). Use our Light-matching tool to look up standard source temperatures, or read camera white balance basics for how Kelvin presets work.
- Adjust tint if supported: Some webcam utilities—including Logitech MX Brio controls—include a green-magenta tint or white-balance offset slider to correct subtle LED color casts.
- Eliminate mixed light sources: No white-balance setting can make two different light colors look neutral at the same time. Turn off warm overhead bulbs if you are lit by cool daylight, or see mixed lighting and color casts for how to balance them.
Troubleshooting common webcam exposure and color issues
Check your physical lighting first, then verify your camera utility settings against this reference table and our video call lighting guide.
| Symptom on camera | Likely cause | Setting or lighting fix |
|---|---|---|
| Face is too dark, background bright | Auto exposure metering bright window | Turn off auto exposure, or add front key light |
| Heavy grain and blocky shadows | High ISO / gain in dim room | Add front light and lower ISO |
| Choppy, blurry motion | Low-light compensation slowing shutter | Disable low-light compensation, lock a shutter speed no longer than the frame time |
| Skin shifts orange and blue | Auto white balance enabled | Lock manual white balance to key light Kelvin |
| Horizontal flickering bands | Shutter speed mismatched to mains power | Match shutter to regional frequency (1/50 s or 1/60 s) |
Our verification standards and primary-source rules are detailed in our fact-checking process.
Common questions
Should I turn off auto exposure on my webcam?
Yes, if your room lighting is consistent, turning off auto exposure prevents the camera from brightening or darkening every time you lean forward or wear a different shirt. Leave auto exposure on only if you rely on changing window light throughout the day.
Why does my webcam look grainy or pixelated in low light?
When a room is dim, auto exposure raises the sensor's ISO or electronic gain to brighten the image. Raising ISO amplifies sensor noise alongside the signal, creating grain and compression artifacts. Adding a front light lets you lower ISO for a cleaner image.
What shutter speed should I set for webcam video?
Set your shutter speed fast enough to match your target frame rate without letting in too little light. For 30 frames per second video, 1/30 s or 1/60 s works well depending on motion; for 60 frames per second video, Elgato advises 1/64 s or faster.
How do I fix orange or blue skin tones on a webcam?
Disable auto white balance in your webcam utility and set the Kelvin slider to match your main light source. Lower Kelvin values neutralize orange tungsten casts, while higher Kelvin values warm up cool daylight or blue-tinted LEDs. Avoid mixing warm lamps and cool window light.
Why does my webcam drop frame rate in a dark room?
Many webcams use automatic low-light compensation that slows the shutter speed below your target frame rate to gather more light. When the shutter stays open longer than 1/30 s, the camera cannot deliver 30 frames per second, causing choppy motion. Turning off low-light compensation and adding light fixes this.
What we checked
- Elgato Facecam Camera Hub Settings Overview (exposure, shutter speed, ISO), checked 2026-11-14 (help.elgato.com)
- Logitech Support: Logi Tune, checked 2026-11-14 (support.logi.com)
- Logitech Support: MX Brio Firmware Release Notes (Exposure and White Balance controls), checked 2026-11-14 (support.logi.com)
- Nikon USA: ISO Control, checked 2026-11-14 (nikonusa.com)
- Sony Help Guide: Exposure Compensation and ISO, checked 2026-11-14 (helpguide.sony.net)
You might also like
- Video Lighting Setup for Calls and YouTube
Build a clean video lighting setup for calls and YouTube using window light or continuous LEDs, simple angles, distance control, and color matching.
- Green Screen Lighting: Even Backdrop, Clean Key
Light a green screen evenly and separate your subject from the backdrop to eliminate shadows, hotspots, and green spill for clean chroma keying.
- LED Flicker on Camera: Shutter Speed and Banding
Stop LED flicker and rolling-shutter banding in video and stills by matching shutter speed to 50 Hz or 60 Hz mains and using anti-flicker tools.
- Lighting a Small Home Office for Video
How to light a cramped home office or bedroom desk for sharp, flattering video calls and recordings without bulky stands or wall glare.
- Lighting for Online Teaching and Webinars
Set up comfortable, flicker-free, low-glare lighting for multi-hour online teaching, webinars, and livestreams with steady color.
- Lighting for Talking-Head Videos
Light talking-head and interview videos cleanly with one, two, or three lights by controlling key angle, fill ratio, hair separation, and glare.