Product Photography Lighting at Home
Author: Fiat Lux Guides Editorial Team Reviewer: Fiat Lux Guides Editorial Team Most recently reviewed First published Filed under Setups and Exposure
Light products at home using a large diffused key source—such as a window with indirect light or a softbox—paired with white bounce cards for fill and black cards to define edges. Position lights off the camera axis using the law of reflection so glossy surfaces show smooth gradients instead of harsh glare.
Belongs to the guide: Three-Point Lighting Explained for Beginners
Checked by Fiat Lux Guides’ editorial desk against the cited sources.
Shooting clean product photos at home relies on the same key-fill-backlight basics principles used in larger studios, scaled down to a tabletop. Because products sit still, you can shape light with inexpensive diffusion sheets, white bounce cards, and black flags—and preview every shadow and highlight before taking the shot.
How product surfaces reflect light
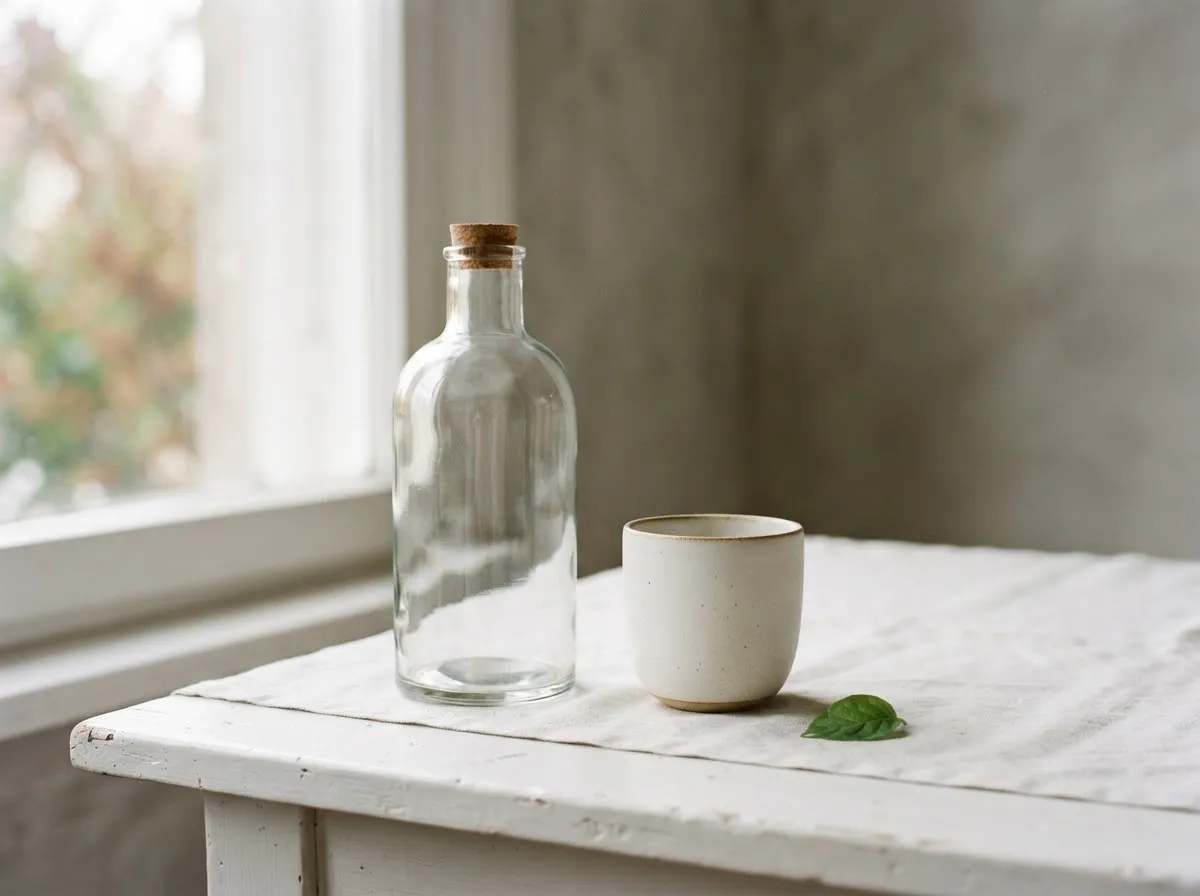
Every product surface falls somewhere between matte (diffuse) and glossy (specular), and knowing which you are shooting determines where to place your lights. As explained in OpenStax’s Law of Reflection, rough or matte surfaces scatter incoming light rays in many directions, whereas smooth, glossy, or metallic surfaces reflect light at an angle equal to the incoming angle of incidence.
- Matte products (fabric, unglazed ceramic, matte packaging): Side-lighting with a soft source reveals texture and surface grain without creating harsh hotspots.
- Glossy or metallic products (watches, electronics, glazed bottles): Reflections act like curved mirrors showing whatever is in the room around them. Instead of aiming a small bare light at the item, you light a large diffusion panel or white card and let the product reflect that smooth surface.
A simple one-light home product setup
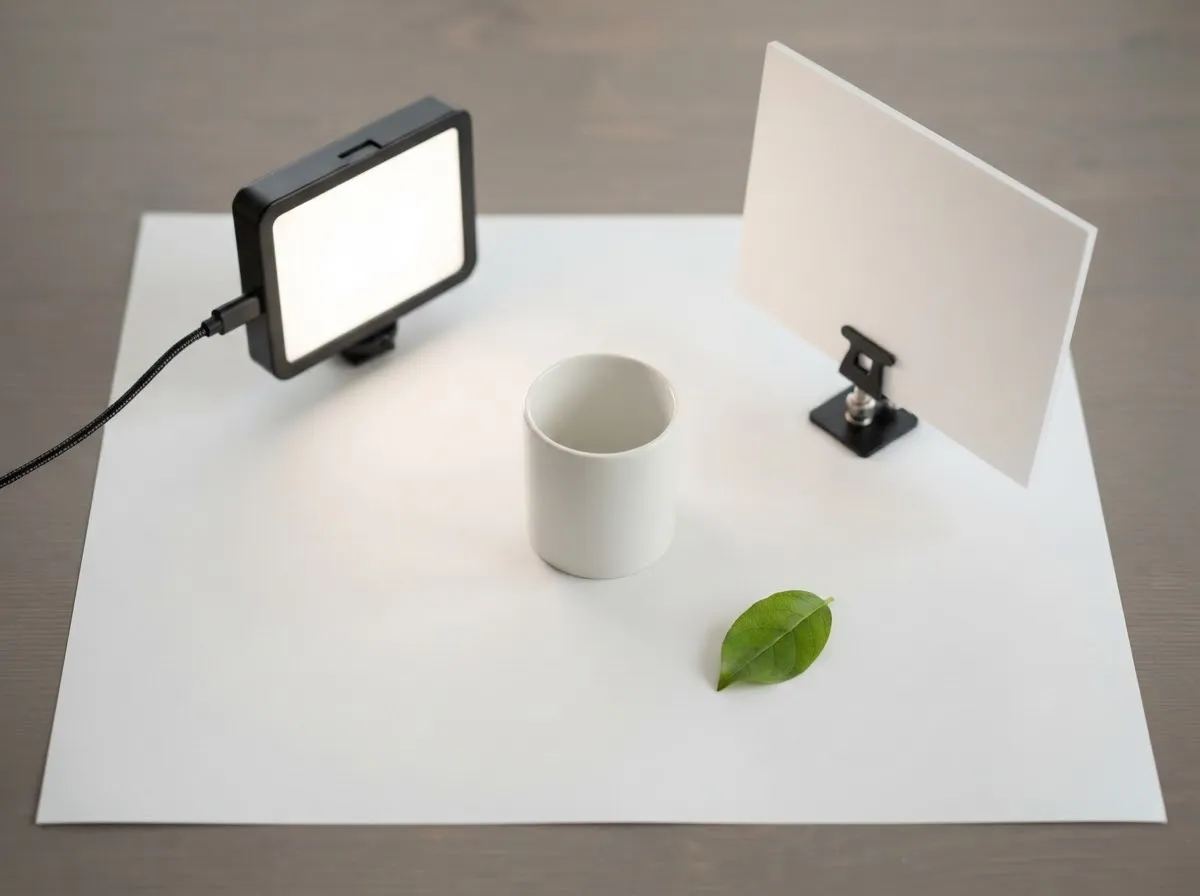
You can photograph most tabletop items cleanly with one main light, one white bounce card, and a sturdy surface or tripod. If you use mains-powered studio lamps, follow the manufacturer’s manual and consult a licensed electrician for any building wiring.
- Choose a single light source: Set up beside an indirect window light or use one continuous LED panel or strobe fitted with a softbox. Turn off all overhead household lights so you do not mix warm and cool color temperatures.
- Position the key light to the side or slightly behind: Placing the light at a side or three-quarter angle carves out dimension and shows texture. Check how source size and distance affect shadow edges with our softbox softness calculator.
- Add a white foam board for fill: Place a white card on the opposite side of the product to bounce key light back into the shadows. Move the card closer for a softer key-to-fill ratio, or further away for deeper contrast.
- Shoot from a tripod at base ISO: Because the subject is stationary, mount the camera on a tripod, set your camera’s lowest native ISO (higher ISO adds noise, per Nikon’s ISO guide), and use a slower shutter speed so images stay crisp and noise-free.
Controlling reflections on glossy and glass items
As in Profoto’s still-life lighting techniques, managing specular highlights is what separates clean commercial product shots from distracting glare.
- Use a large diffusion scrim: Place a sheet of frosted diffusion paper or ripstop nylon between your light and the product. Moving the light closer or further behind the scrim creates a smooth brightness gradient across curved glass or metal rather than a sharp bright dot.
- Add black flags for edge definition: On clear glass or bright silver objects against a white background, place narrow strips of black foam board just outside the frame on both sides. The glass refracts and reflects those dark strips as crisp black outlines along its edges.
- Light tents vs. open tabletop setups: A collapsible white light tent wraps light around small reflective items quickly, which is convenient for high-volume catalog shots. However, an open tabletop setup with separate light modifiers and movable cards gives you far more control over shadow direction and contrast.
Camera and color accuracy tips for products
Accurate product colors depend on locking white balance and controlling exposure rather than relying on automatic camera presets.
- Set manual white balance: Use a neutral gray card or match your camera’s Kelvin setting to your light source so packaging and fabrics render accurately. See white balance basics for setup steps.
- Choose aperture for depth of field: Tabletop subjects sit close to the lens, which narrows depth of field. Stopping down to a narrower aperture (such as f/8 or f/11) keeps the entire product sharp from front to back; see shutter speed, aperture, ISO and light for how to balance aperture with shutter speed on a tripod.
- Check for common errors: If colors look tinted or shadows look muddy, review our common lighting mistakes and hard light vs. soft light guides.
Details on our primary-source review process are published in our verification process.
Common questions
What is the easiest home lighting setup for product photography?
Place a tabletop next to a large window with indirect daylight and set a white foam board on the opposite side of the product to bounce fill light into the shadows. Turn off overhead room bulbs so mixed color temperatures do not tint the product.
Should I use a light tent or a softbox for product photos?
A light tent surrounds small objects with even, shadowless white light, which works well for simple e-commerce shots of shiny items. A softbox or diffused side light with movable foam boards gives you directional shadows and highlights that show shape and texture better.
How do I stop harsh glare on glass or metallic products?
Make the light source larger relative to the product and position it at an angle where the reflection misses the camera lens or forms a smooth gradient across the curve. Using a large sheet of diffusion paper or a white scrim between the light and the object turns pinpoint glare into a clean highlight.
Why do I need black cards (flags) in product photography?
Glossy and transparent objects act like mirrors, so white walls and tents reflect as bright wash across their edges. Placing black foam boards just outside the camera frame creates crisp dark reflection lines along glass edges and metallic contours, separating the product from a light background.
Can I use continuous LEDs instead of studio strobes for products?
Yes. Because products do not move, you can mount your camera on a tripod and use a slower shutter speed at base ISO with continuous LED panels or window light. Continuous lights also let you preview reflections in real time before pressing the shutter.
What we checked
You might also like
- Three-Point Lighting Explained for Beginners
Learn three-point lighting—key light, fill light, and backlight—plus how source size controls shadow softness and how distance and stops control exposure.
- Common Lighting Mistakes in Photo and Video
Spot and fix the most common photo and video lighting mistakes: mixed color casts, flat on-axis light, harsh overhead shadows, and distance falloff.
- Exposure Basics for Lighting: Stops, ISO, Aperture, Power
Understand how stops of light connect aperture, shutter speed, ISO, and flash or LED power so you can adjust lighting exposure accurately.
- Hard Light vs Soft Light: What Changes the Shadows
Compare hard light vs soft light in photography and video: how source size, distance, and penumbra geometry control shadow edge softness.
- Headshot Lighting at Home
Set up clean headshot lighting at home with a window or a single LED or strobe, covering light angle, background separation, and shadow fill.
- The Inverse Square Law of Light for Photographers
Learn how the inverse square law controls light falloff, exposure stops, and background separation in photography and video.